Throughout this Adobe Photoshop tutorial we will go over how to create a very simple starscape look. Start off by creating a blank canvas at any size you wish to use. For the purposes of this Photoshop tutorial I went ahead and created one that is 800×800 pixels. Next fill the background with black, so you should have something like the following:
Now let’s go ahead and add some noise to the image to produce the effect of stars in a night sky. To do this we head on over to Filter->Noise->Add Noise. Utilize roughly 40% noise, with a Gaussian distribution, and make sure to select Monochromatic. Hit enter and you should be left with the following image:
Now I don’t know about any skies you have seen, but I have never seen one to have this many stars. So we need to adjust the levels of the image in-order to diminish some of these “stars”. Head on over to Image->Adjustments->Levels and start to get creative. Depending on your settings you will have less or more stars visible. Play around with these until you get your desired effect. Here is what I went with:
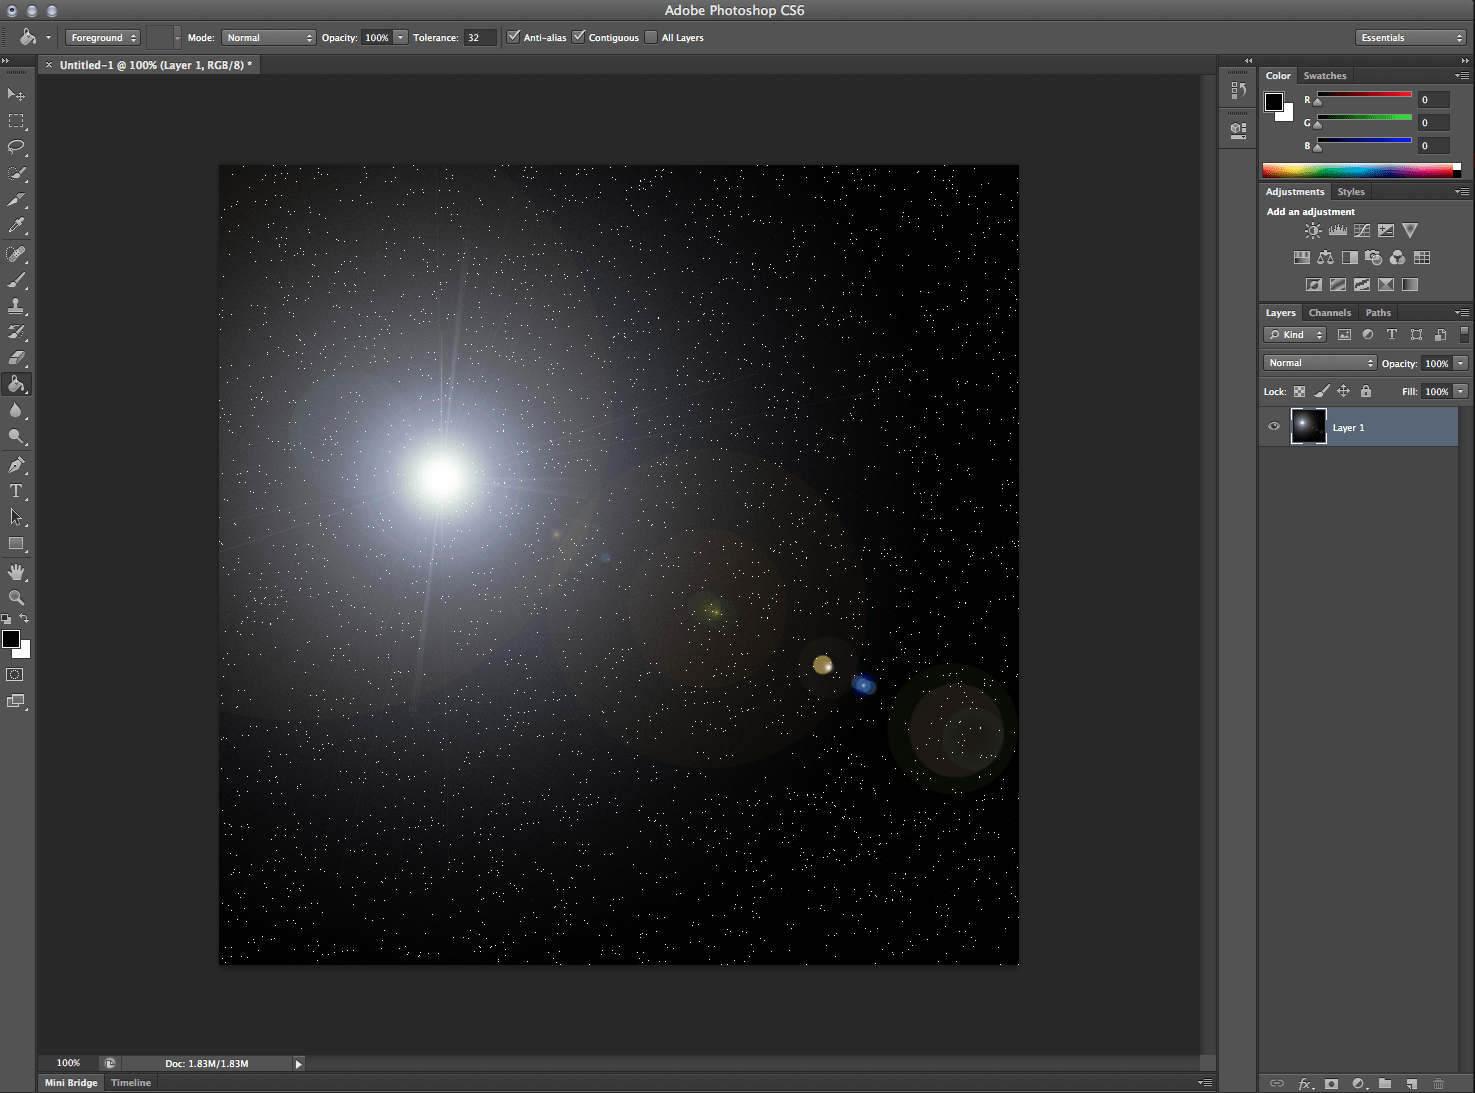
Now to add a little bit more flare to this image I went ahead and added a Lens Flare by heading over to Filter>Render>Lens Flare. Adjust the brightness to your liking, and position the lens flare wherever you wish. I recommend going with a 105mm Prime lens type to provide a more realistic look since that is the only lens type which offers a cool blue hue rather than a red one.
Here is my final product:


I’m a photoshop designer but i have no idea advance level. The tutorial give me more idea. Now i will try this work. Thanks