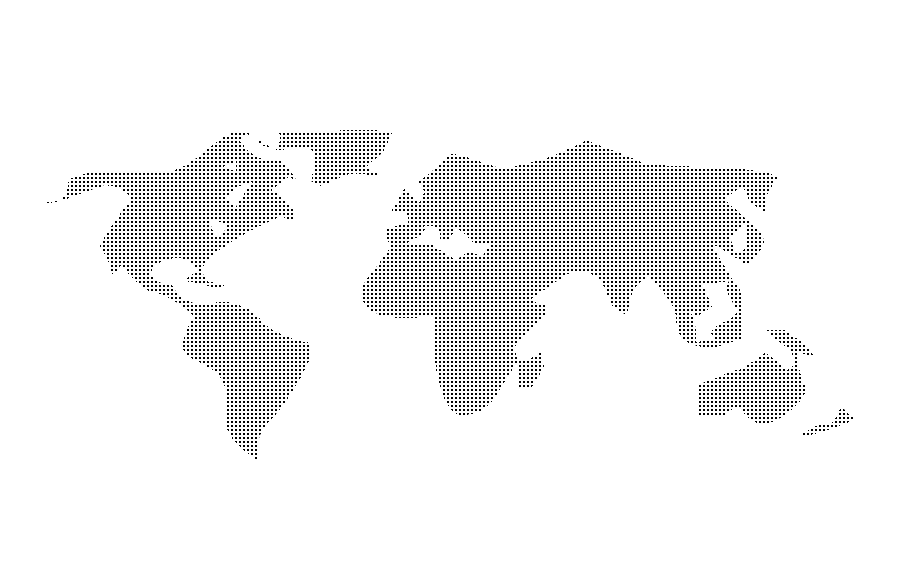
I’m sure you have seen those dotted world maps that are utilized across dozens of business based websites these days. I was playing around with Photoshop one day and found the following when I was testing out the DingMap font (available free here). If you type “4” with this font selected, you get the following image:
This gives us an interesting looking map of the world; and a great starter image to create our own dotted world map. First off, we need to create a pattern which we will utilize to fill in this map. So go ahead and create a new image. Depending on the font-size that you used to create the original map, you’ll want to either create a 2×2 sized image for anything less than 165px in size, and a 4×4 sized image for anything larger. Fill in one corner of your image, and then go to Edit > Define Pattern and save your new pattern.
Back to your original image with the image of the world map, select your text layer, right click on it and select Rasterize Type.
Now select just the world map. You can easily do this by going over Select > Color Range and selecting the Shadows range to be selected.
With your world map selected grab your Paint Bucket Tool and in the top menu select Pattern as your filler. From the drop down select the pattern that we previously defined, and fill the selected area with this.
This will give you the following outcome:


