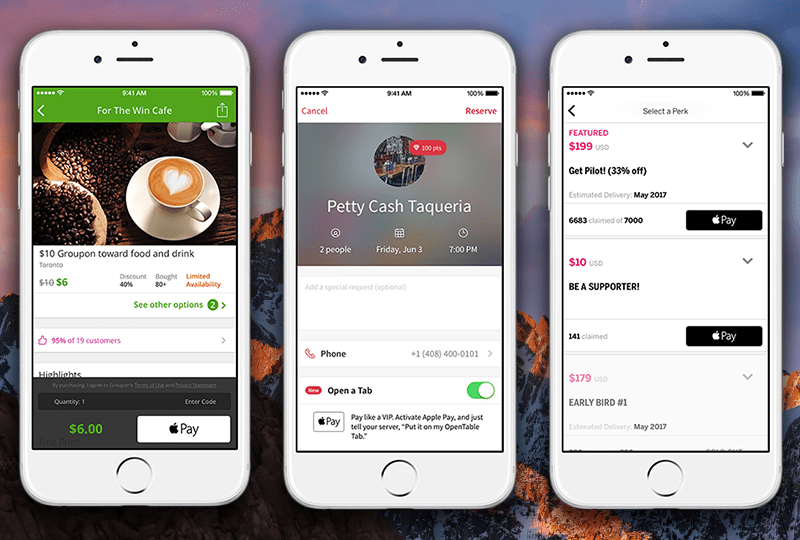
For any of you who are Apple users, you’ve probably made use of Apple Pay before – whether it was via an in-app purchases or while shopping at various brick and mortar businesses. Chances are if you have used Apple Pay – you loved how quick and easy it made the checkout process. Apple knows that – and in the last WWDC 2016 conference it was announced that Apple Pay is coming to the web.
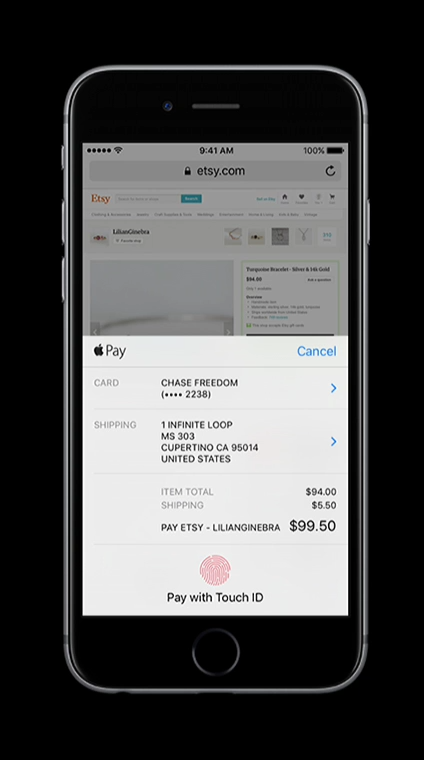
Apple Pay is currently available on for websites visited using an Apple iPhone or iPad device with Safari or SafariViewController. Here the user gets the same exact experience they would’ve gotten using Apple Pay for an in-app purchase.
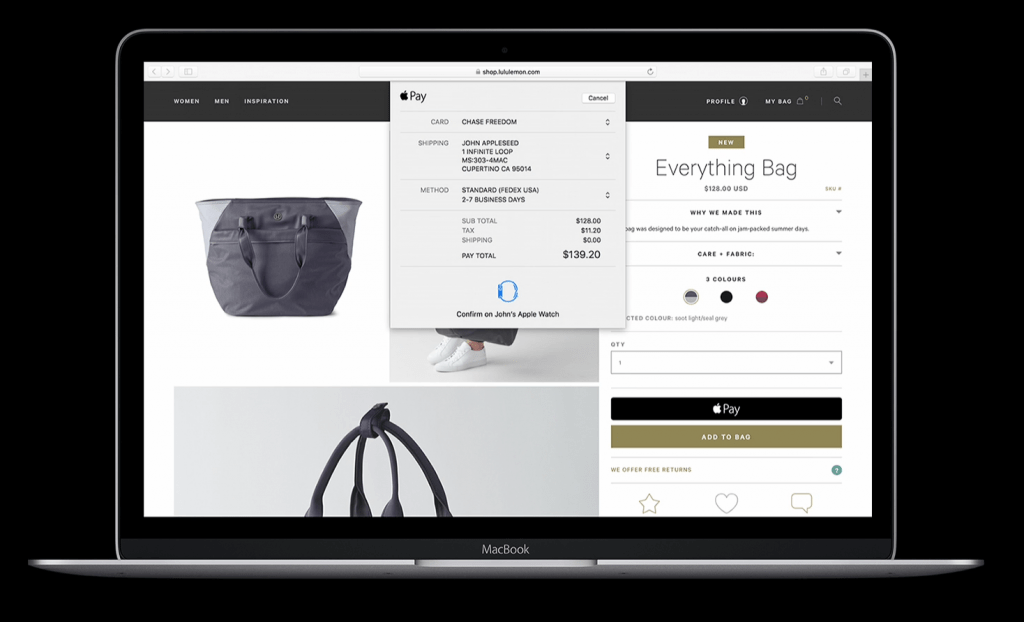
Desktop users are supported using MacOS Sierra, letting the shopper verify the purchase via TouchID on their iPhone or Apple Watch.
How Do I Integrate Apple Pay Into My Website?
As a developer, there are a few interesting things to take note of in order to integrate Apple Pay into your ecommerce website. First off – if you are using an eCommerce platform that happens to also be an Apple Pay partner – your already setup to start accepting Apple Pay and you can skip the rest of this section. Currently these partners are:
- Shopify
- Demandware
- IBM
Otherwise you have some requirements to meet before starting your integration process.
- You must have an Apple Developer account.
- Your website must be served over HTTPS
- Your website must comply with the Apple Pay guidelines.
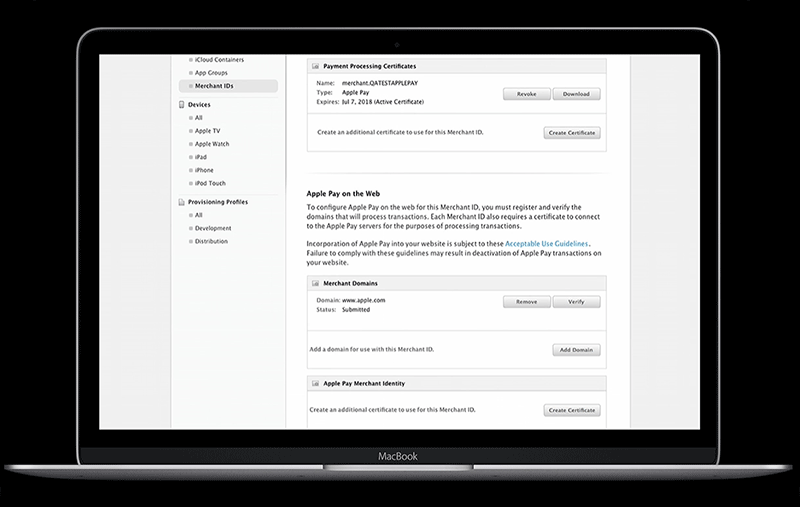
From then on you can begin the process of integrating Apple Pay within your developer portal by adding a domain name and generating a merchant identity certificate.
For an in-depth look at how to integrate Apple Pay on your own and write your own code from scratch using the new ApplePaySession Javascript API – check out the WWDC 2016 session video here. Start at the 19-minute mark. Make sure you do all of your testing in the new Apple Pay Sandbox!


