Shapes are probably the simplest and most common starting point for Photoshop users – and one of the most common beginner questions I get asked is “how do I draw a perfect circle?”. In this tutorial I attempt to answer that question – along with the usual follow-up of “and what about a perfect square?”.
[frame align=”left”] [/frame]In the vertical tool bar on the left-hand side of the screen you will see a Rectangular looking icon. Hold the mouse button down on this, you will see another sub-tool bar pop out. Drag over to the Circular Marquee and let go of the mouse. If you want to make a square, simply click on the Rectangular Marquee instead.
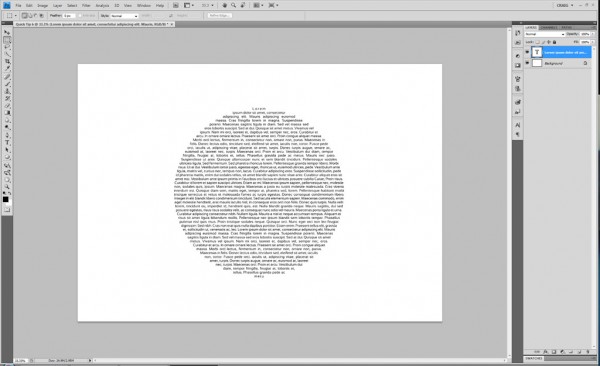
[frame align=”right”] [/frame]Move your mouse pointer over to your workplace and hold down the SHIFT key. Now press and hold the left mouse button and drag out a circle (Since you held down the shift key, it will make a perfect circle or square for you). When you have the size you like simply let go of the mouse button and shift key. You should now have something like this on your workplace:
Now lets fill our circle with some color. Look for the Swatches pallet on the screen. Go over to it with the mouse and select a color, I choose blue for the purpose of this tutorial. ( if you don’t see the swatches pallet, then go to Window>Show Swatches). Once you have selected a color click on the Paint Bucket in the tool bar on the left. Now click inside the circle you made to fill it in with color. Deselect the circle/square selection by holding down Ctrl – D. Ta-Da! All finished.


