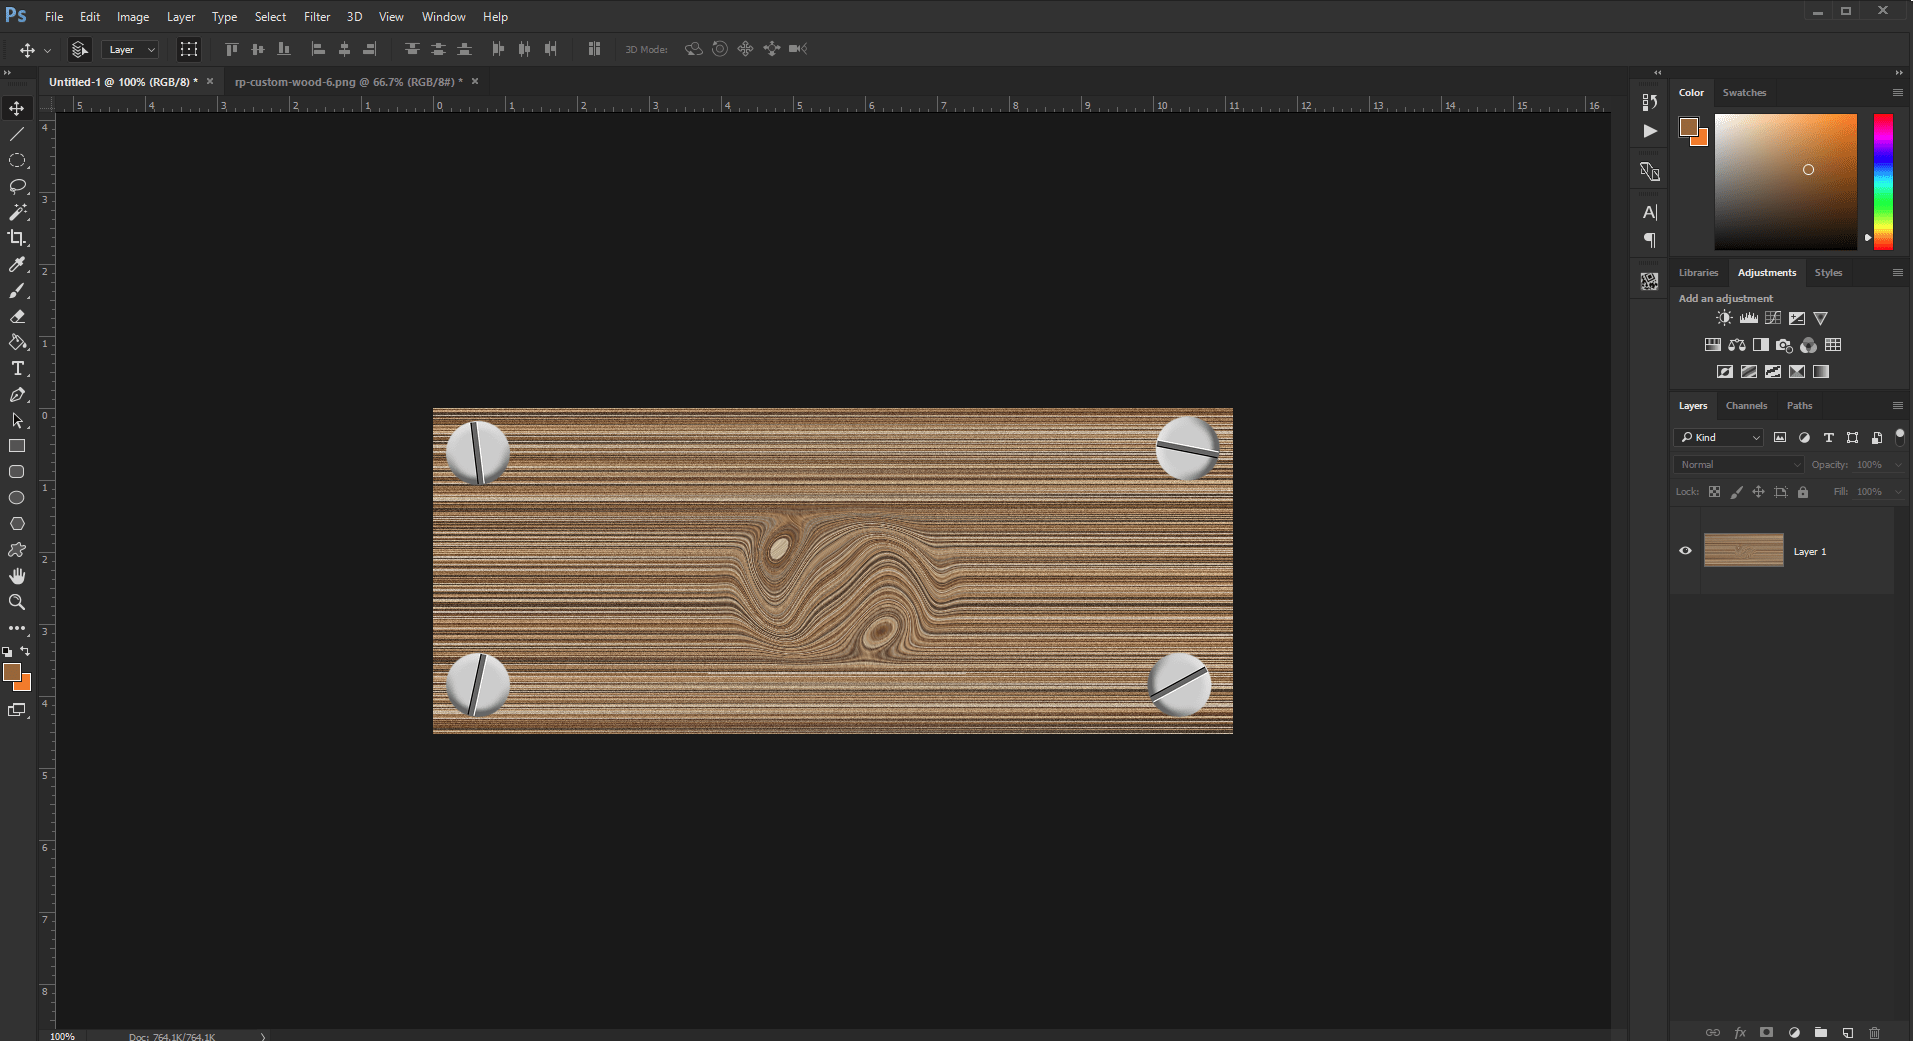
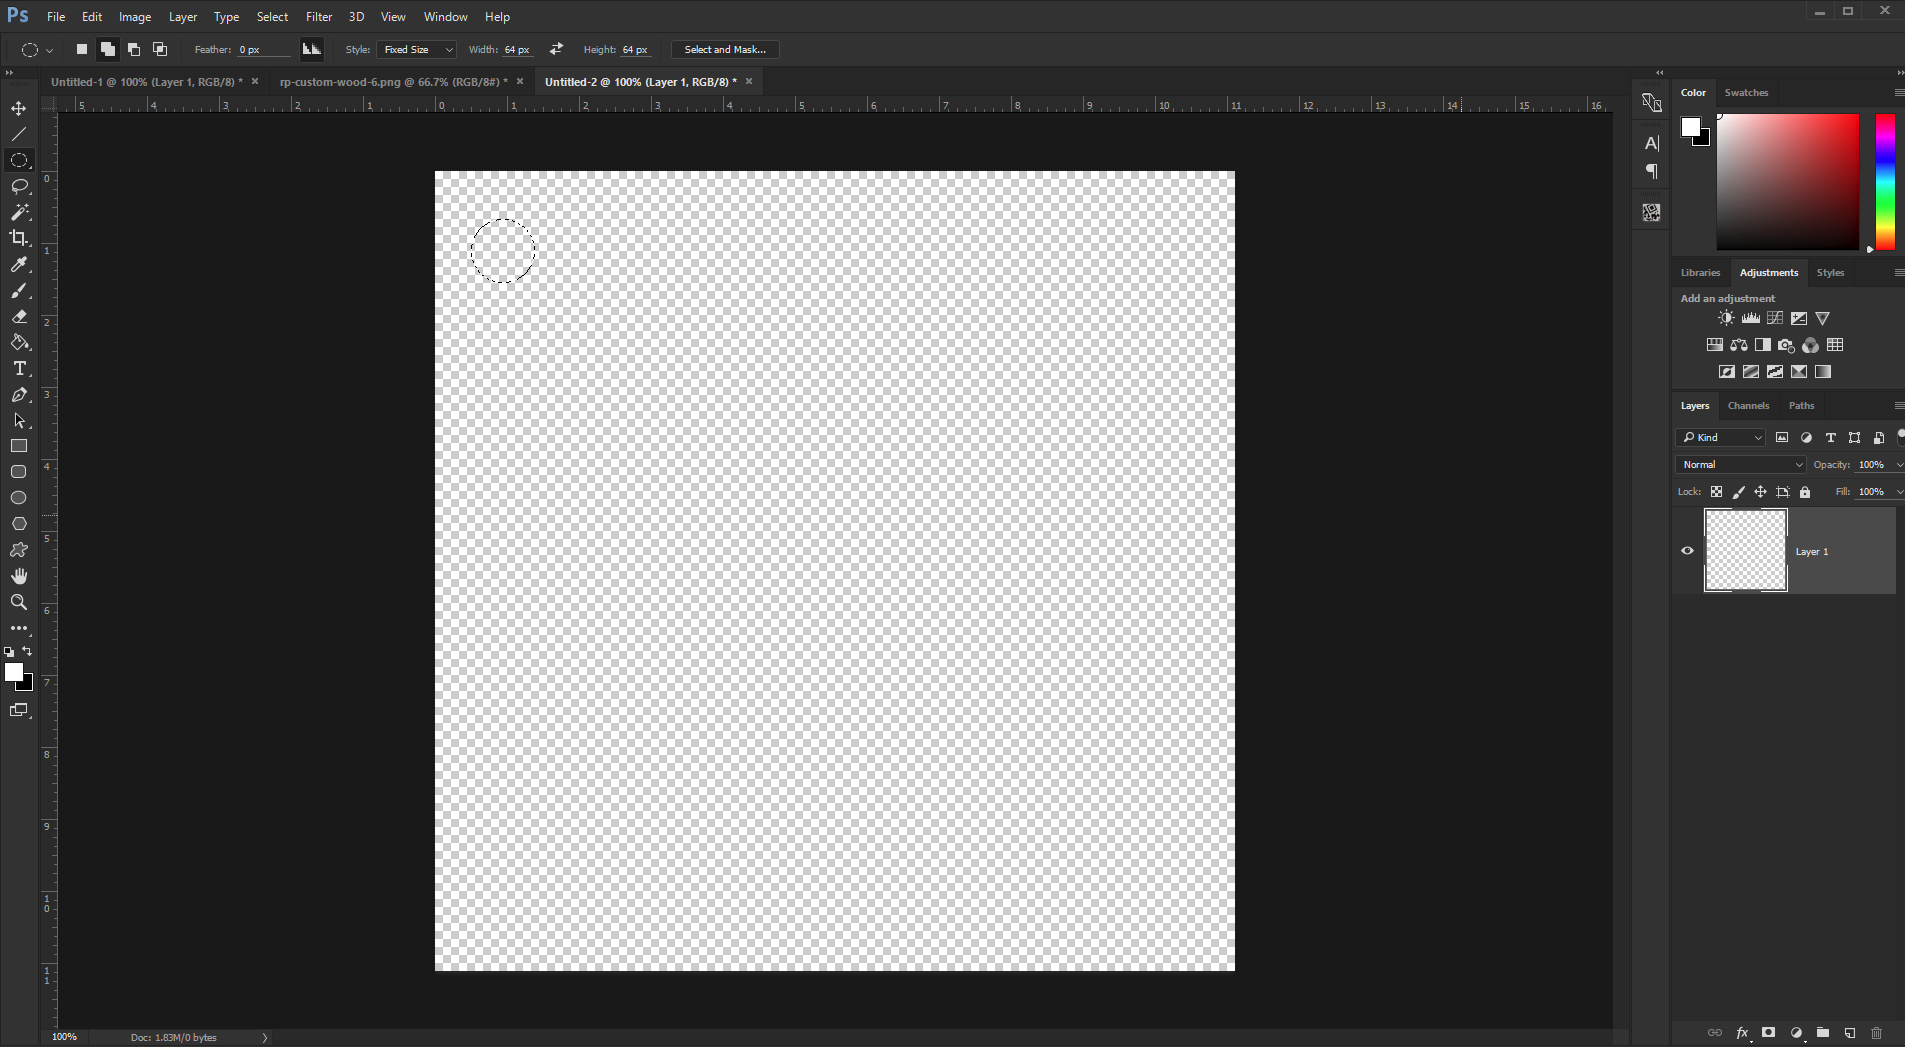
Now that we have learned how to make our own custom wood textures, let’s add some screws to that wood! Start off with a new workspace, and draw on it a 64 x 64 pixel circle. To do so use the Elliptical Marquee tool, and on the top options bar select the Fixed Size option and input the appropriate height and width options.
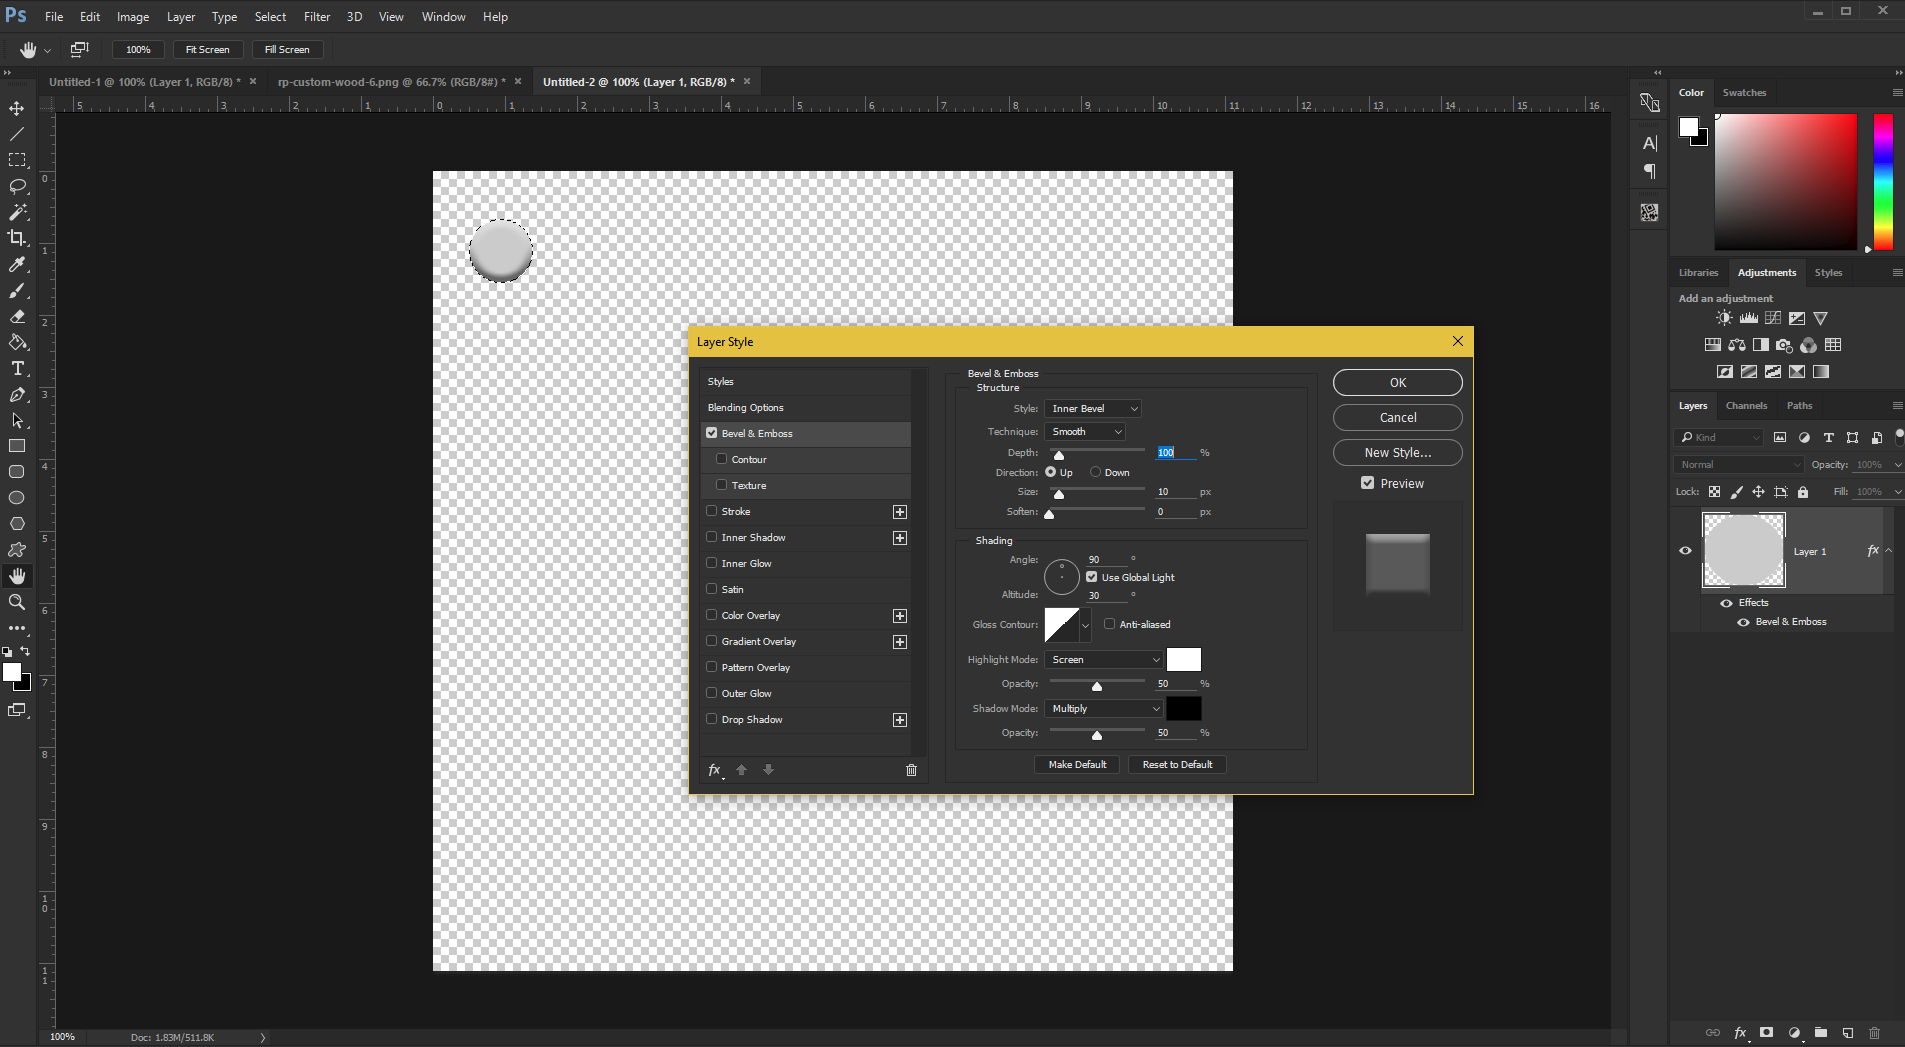
Fill the circle with #CCCCCC. Then go to Layer > Layer Style > Bevel & Emboss, and match your settings to mine. If you made your initial circle a different size from mine, you may need to modify your size option a bit.
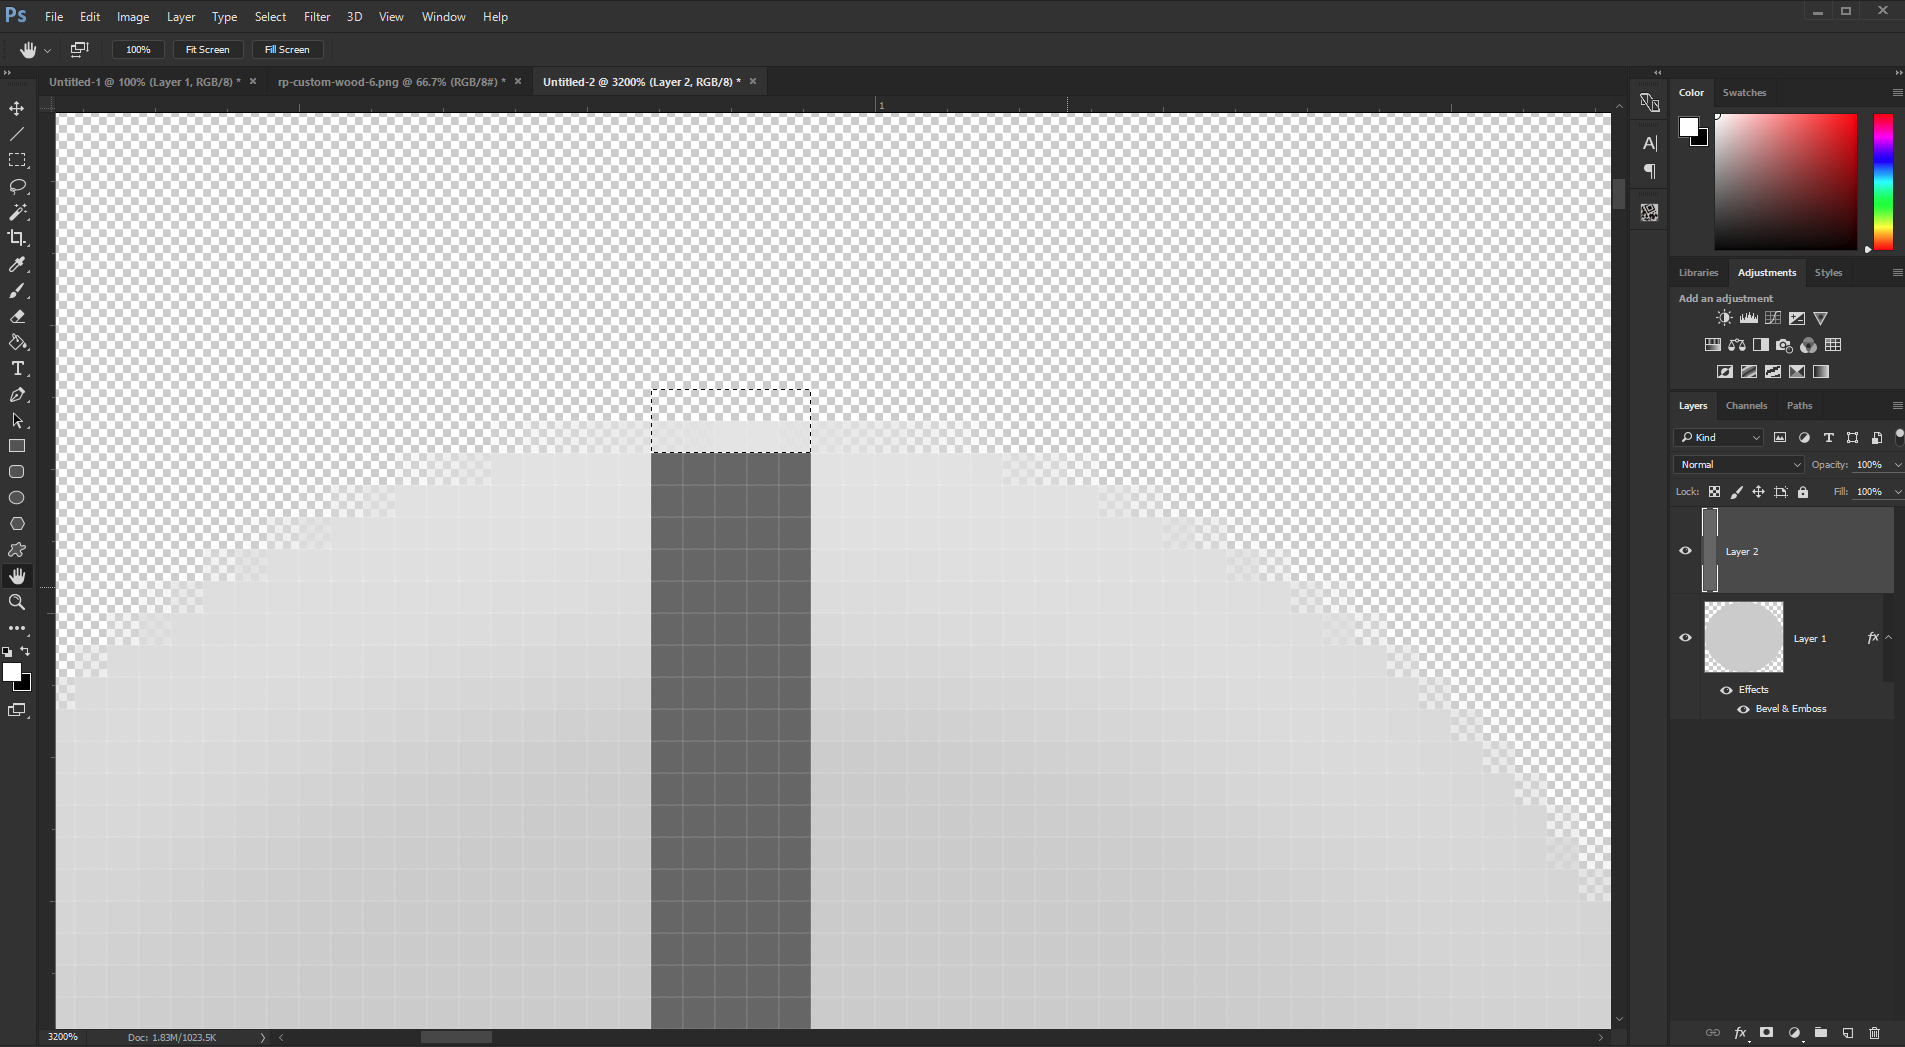
Now, zoom in to your screw and make a new layer. Then use the Rectangular Marquee tool to make a selection that is 5 x 64 pixels in size. Position this over the center of the screw and fill it with #666666.
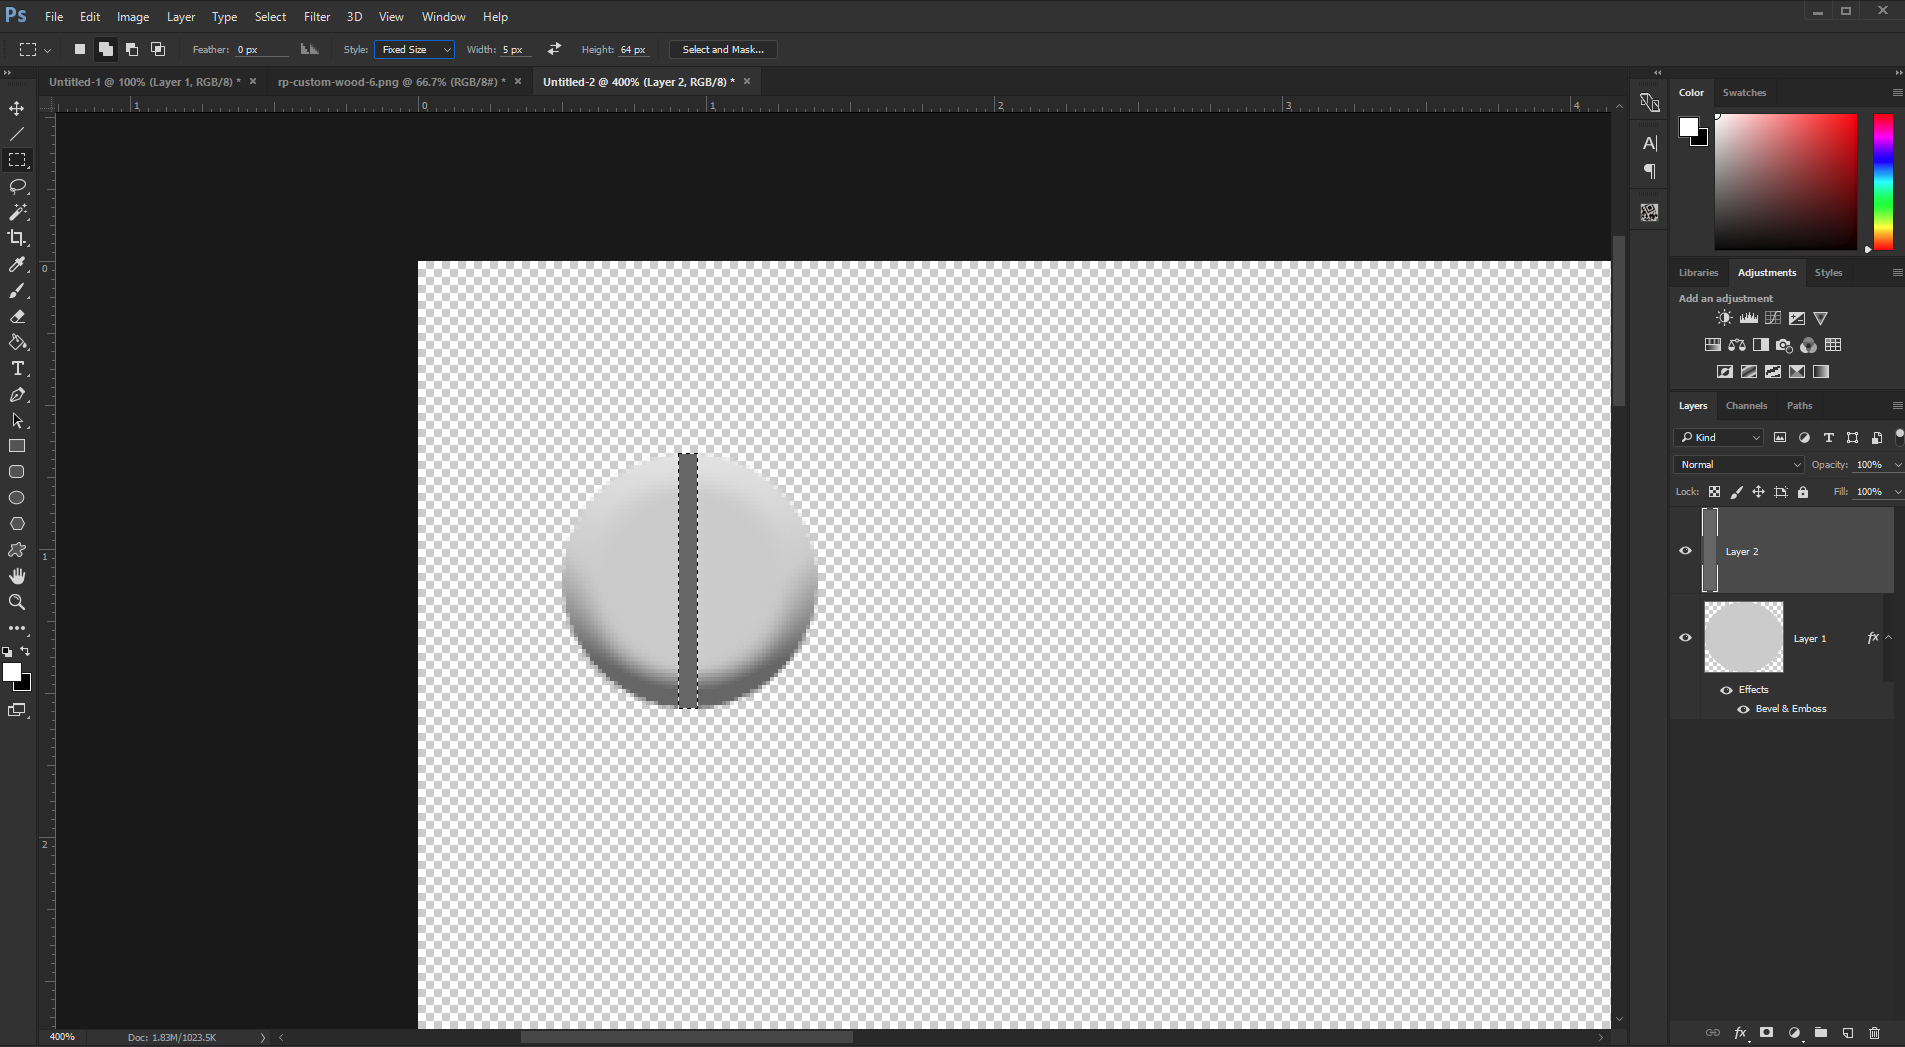
Now to help create a more realistic screw, zoom all the way in on the top of the screw and delete a 1 pixel height row from our vertical bar.
Replicate this process on the other side.

And there you have it. A realistic and fully custom-made screw! We can now combine this with our previously made wooden panel and be well on our way to making our very own, custom, wooden sign.