Wood textures have proven their popularity over the years – being incorporated into various website designs & graphic design elements for over a decade now. As such there are countless existing wood textures available across the Internet, most free for you to download. However sometimes a certain project requires an entirely custom made wooden texture. This Adobe Photoshop tutorial will walk you through creating a simple wooden texture.
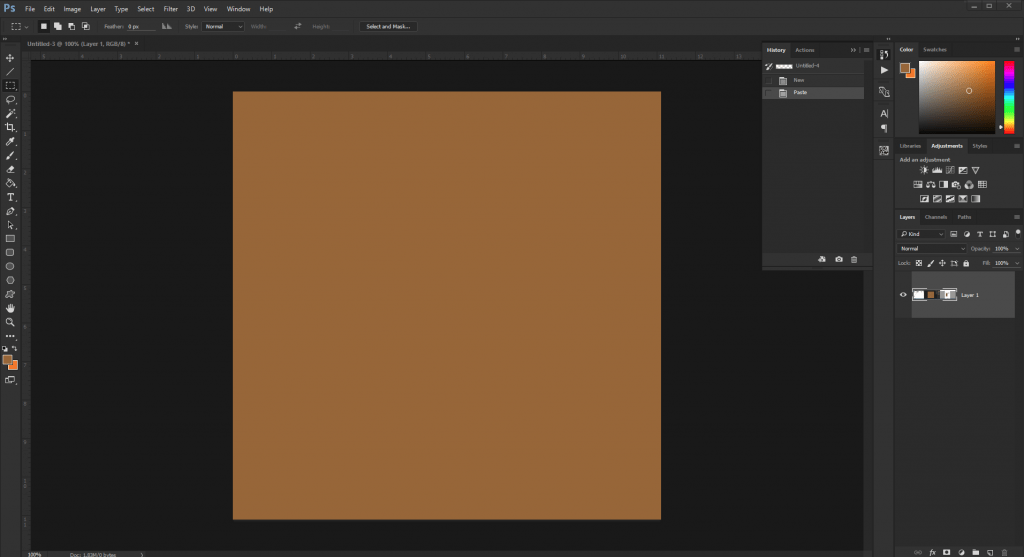
Start things off by creating a large square work area and then filling it in with a brown color of your choice. I went ahead and created an 800 x 800 pixel workarea and filled it with a basic brown – #996633.
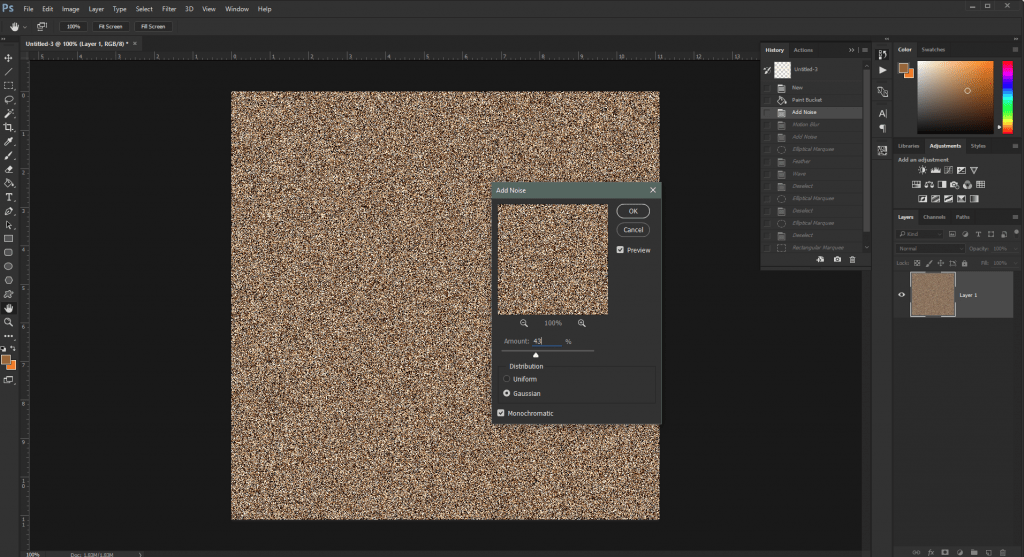
Next up head on over to Filter > Noise > Add Noise. Make sure that Guassian is selected and Monochromatic is checked on. Choose a value between 45 & 60 for the best results.
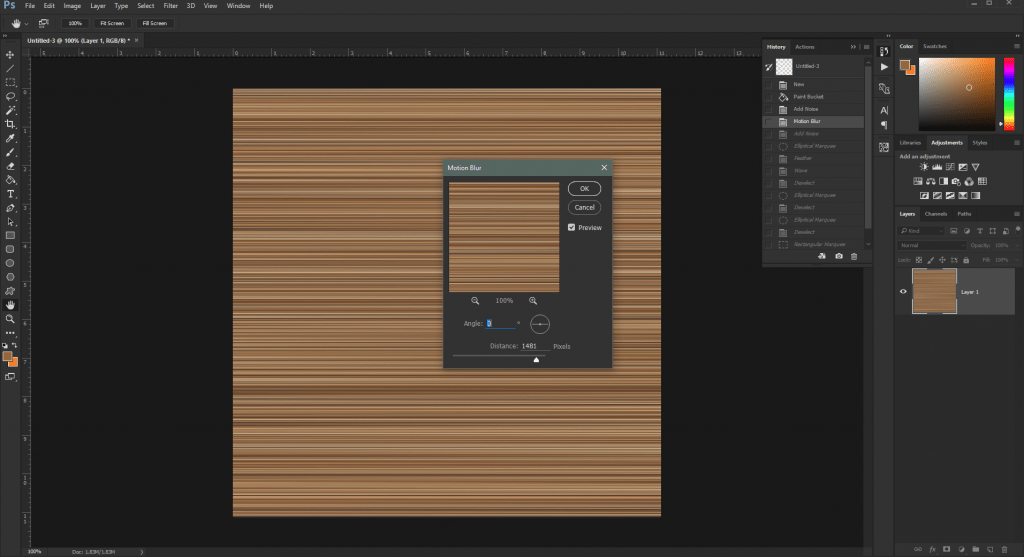
Now add a blur to your image by going to Filter > Blur > Motion Blur. Set your Angle to 0 and your distance all the way to the right.
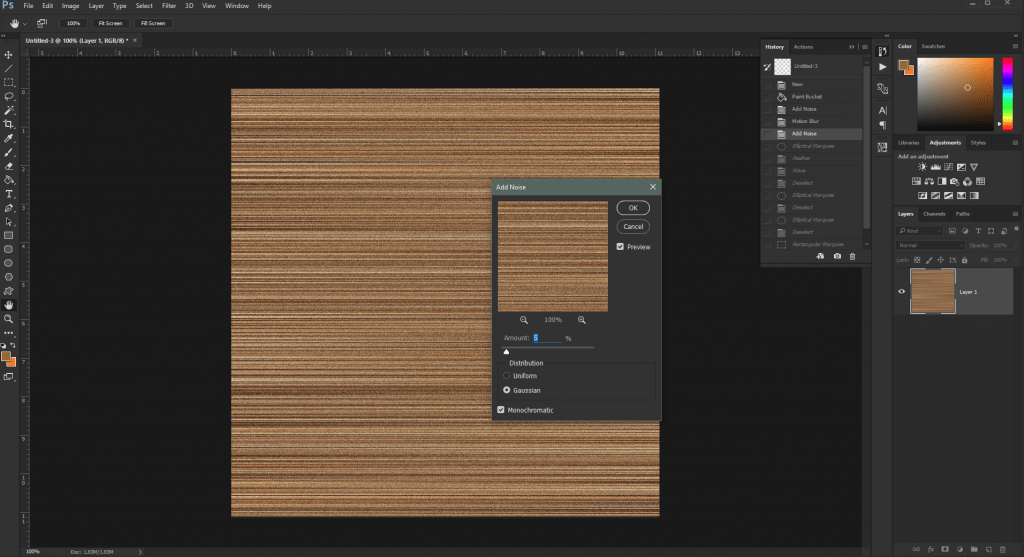
To gain some of that texture that a piece of wood has let’s add some noise to the newly blurred image. Once again head to Filter > Noise > Add Noise – only this time select a value between 5 and 10.
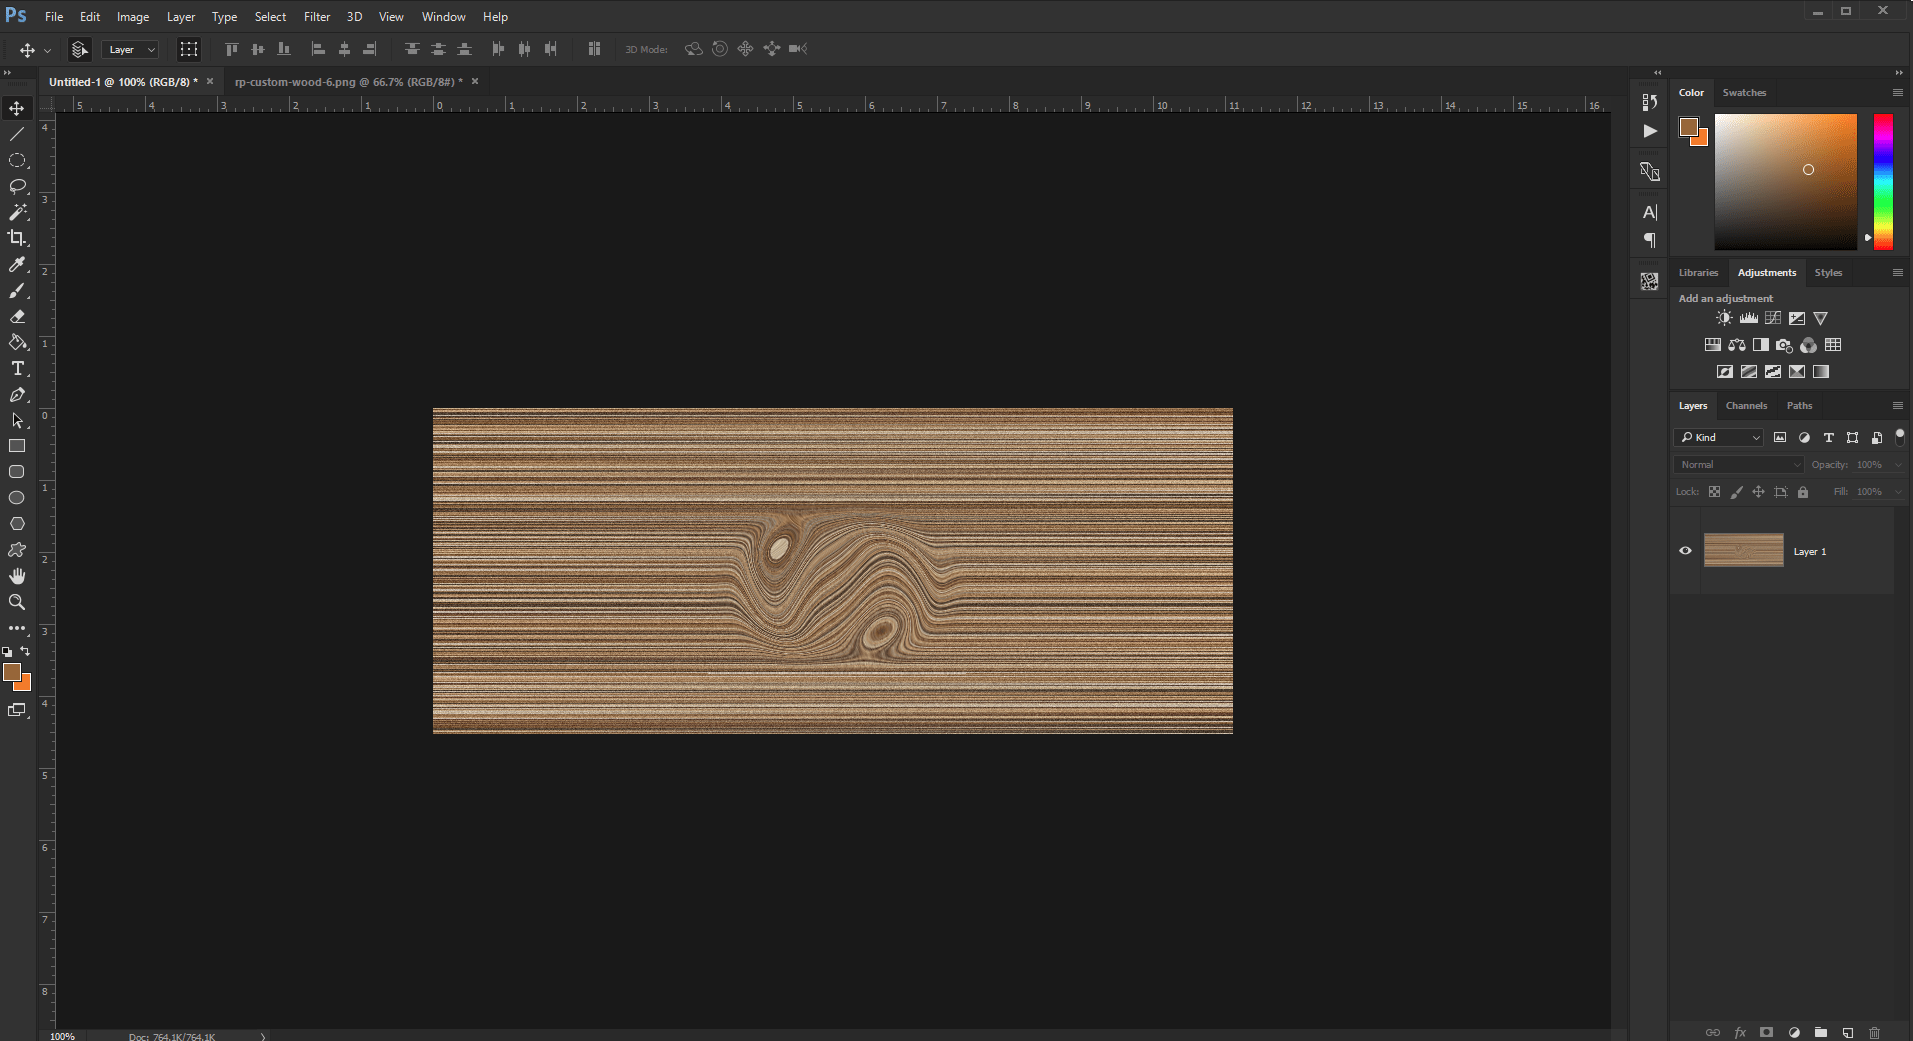
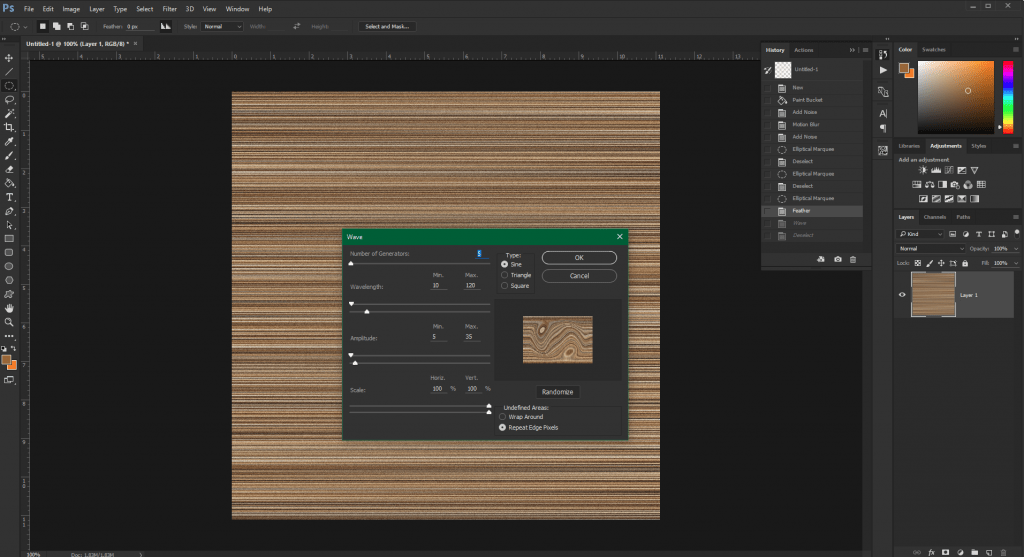
Now to create the knot that most wooden planks will have start by drawing an oval using the Elliptical Marquee tool. Once you have drawn the oval, feather the selection by going to Select > Modify > Feather. Enter 10 for the amount. Now head over to Filter > Distort > Wave. The default settings are usually perfect for creating a wooden texture. Simply click on Randomize until you get a texture that you are happy with.
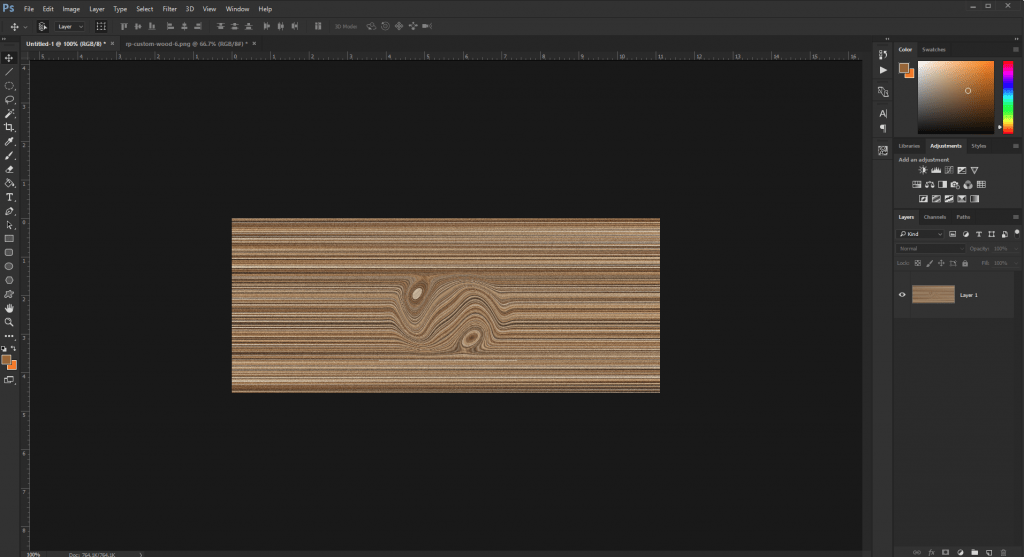
Finally – here is the final outcome. Crop it down to the size you need, and you have a custom wood texture!
