Photoshop has an amazing tool that is often overlooked by most – the History palette. the History palette in Adobe Photoshop is the Undo/Redo function on crack. It constantly saves your edits, or states, as you are working – giving you restore points you can jump back and forth between.
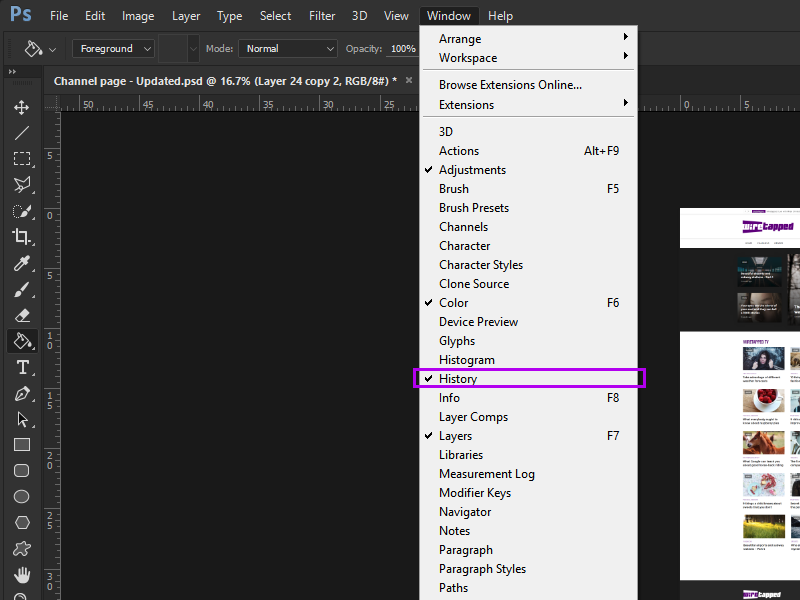
If you don’t see the History palette in your work-space you will need to turn it on by going to Window > History.
Now that the history palette is open, just continue working on your project. You will notice as you perform various edits they will be recorded within the history palette. Adobe Photoshop will retain 50 history states by default, however you can change this under Edit > Preferences > Performance > History States.
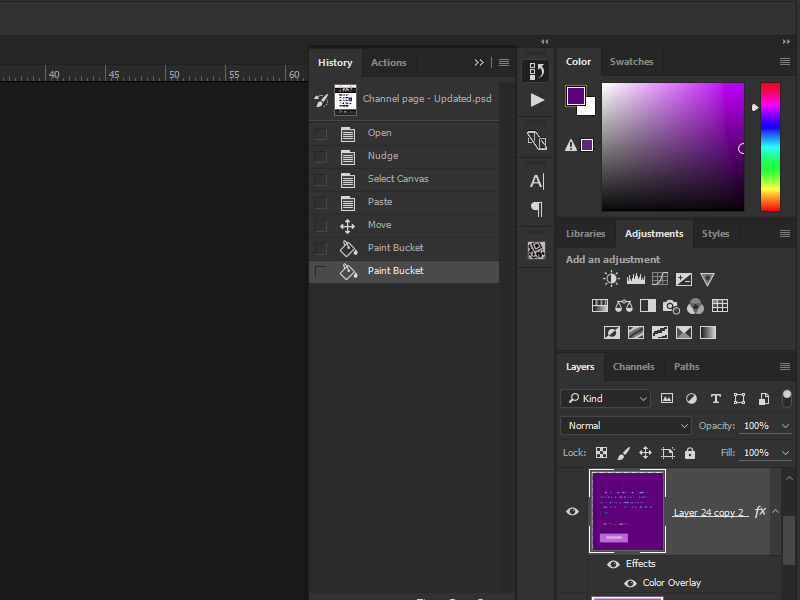
To go back, or forward, between your different states simply click on the state name inside the History palette. This will let you easily go back and forth between all the various changes and edits you made to your artwork. Take note that when you go backwards to a state, all the states following it become grayed out. This means that any new change you make now will delete those states and start recording new ones.
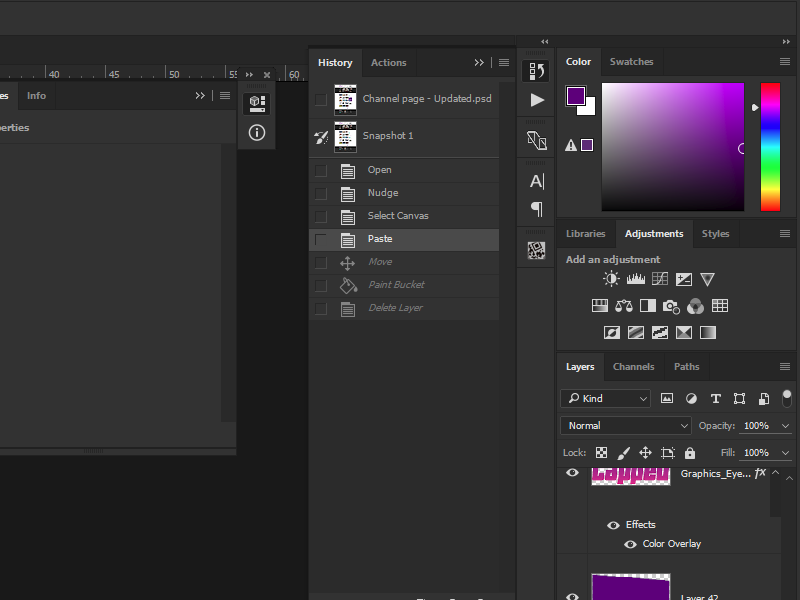
You can also manually delete states from the History palette, however take note that any states you delete from the History palette will delete all of the states following it aswell. This is a great way to quickly undo several edits, or quickly make some serious mistakes. Luckily you can undo (CTRL + Z) state deletions.
Once a series of changes have been made that you feel satisfied with – you can create a new snapshot of your work, and continue on. This allows you to save multiple different options of your artwork without having multiple files.
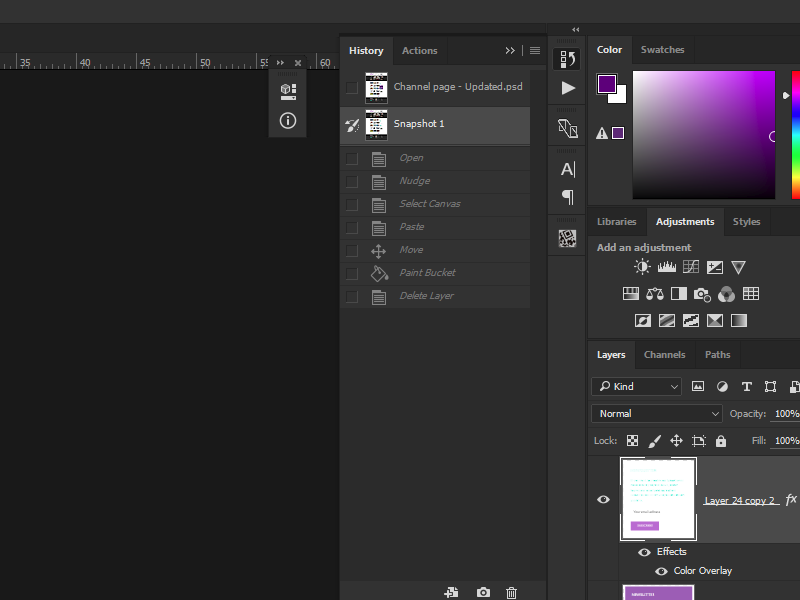
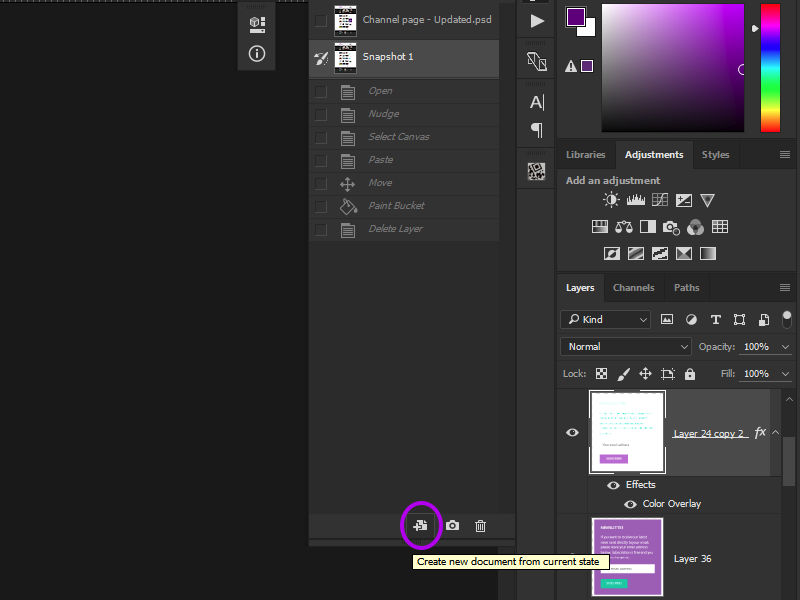
You can also create an entirely new document from any snapshot or state change by simply selecting the state/snapshot and clicking the “Create New Document From State” button at the bottom of the History palette. This creates an instant duplicate of your document, layers and all, matching the selected state/snapshot.
Hopefully this Adobe Photoshop tutorial helped you gain a better understanding of the History palette. As always, post any questions you have down in the comments below!