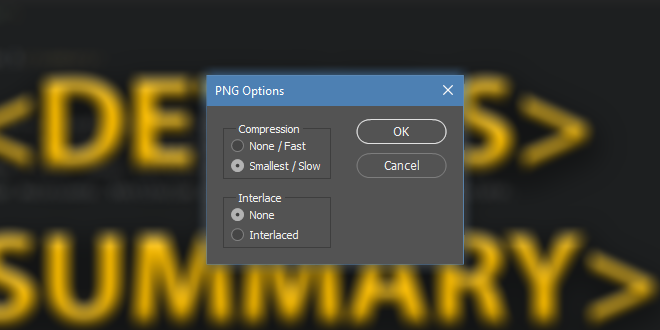
One of the most common questions that comes up from beginner-level Adobe Photoshop users is which options should you be selecting when saving a PNG. What is the best way to save a PNG file? Photoshop opens a pop-up whenever you select to save an image as a PNG, and most people simply leave the default options selected whenever it pops up. However that could be costing you precious file-size, in an era where fast load times & small file sizes are key. So let’s properly understand what the options in this little pop-up box actually mean.
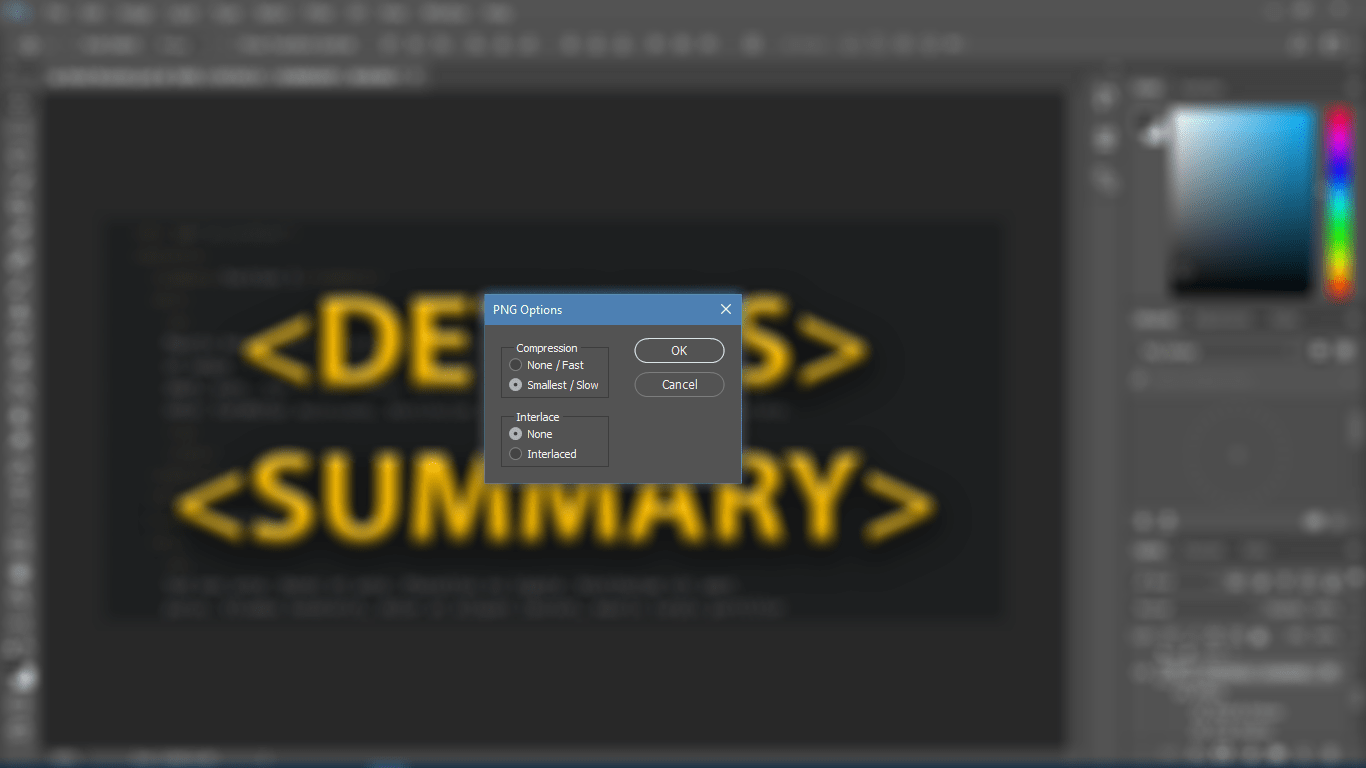
Compression
The first section in the pop-up box handles the compression options for your PNG image. Adobe relates things to how long it will take to save & process the image, and as such this can be a bit confusing at first. The Fast option doesn’t actually make your image quicker to load – it makes it bigger actually.
- None/Fast: This turns compression off and will have the fastest saving time.
- Smallest/Slow: This turns compression on and will have the slowest saving time.
As a rule of thumb you will want to compress any PNG graphics that you will be using for the web – so keep selecting Smallest/Slow.
Interlace
Most images on the internet today render progressively – which if you have a slow enough Internet connection you may have noticed. Ever noticed a picture that started loading a portion at a time, from the top down? That’s progressive loading. Ever noticed an image that seemed to start off blurry and get better as the page loaded more? That’s an interlaced image. Take a look at the example below which showcases what a progressive & an interlaced image look like half way through their loading cycles:
So our final section is simply asking us if we want to turn Interlace on or off. The answer here depends entirely on your image, and where it is being presented. For example, if your image is being shown in it’s full quality – on a dedicated page within a photo gallery – you can safely go with Interlaced. Your image is expected to take a while to load, and file-size doesn’t really matter because the end-user expects your full-size image to take a few moments to load. As such the extra file-size caused by turning interlace on won’t really matter – instead your visitors will get some visual feedback on the image in a much shorter time.
However if your image is a logo, or a simple web-graphic, you’ll want to have it as optimized as possible. Keeping the file size low is going to be key here – and as such you’ll want to use the None setting to keep interlace off.
So there you have it! A very long explanation for a very small pop-up box. Hopefully the next time you encounter it you will be able to confidently select the ideal options for your situation, instead of just using the default ones.