This 3D navigation bar used to be a common element in website design – however over the years it has transitioned to be a common design element used across all sorts of graphic and web design projects.
Let’s start by opening up a new 600 wide by 50 high canvas in Adobe Photoshop.
Using the Rectangular Marquee <M> tool create a rectangle about 10 pixels away from each edge.

Go to SELECT > MODIFY > SMOOTH and use a value of 10 pixels. See what it does to the ends?

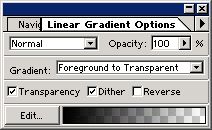
Create a new layer and fill your selection with white and then select the Gradient Tool.
Select the Gradient Tool (or hit G on the keyboard) and make sure that the Gradient is set to “Foreground to Transparent” do the following series of steps:
- Select a dark grey color from the palette. (RGB:87,87,87)
- Use the Gradient Tool from the top to about midway down the object / text
- Select an even darker grey colour (RGB:38,38,38)
- Use the Gradient Tool from the bottom to about midway again.
- You will need to make sure that there is a certain amount of grey in the middle of the image.

Right click the same layer and this time choose LAYER EFFECTS
Keep DROP SHADOW selected, and from the drop-down box select Bevel & Emboss. Create a Inner Bevel of about 5 pixels depth and 5 pixels blur.

Create a new layer and make sure it’s on top of our bar layer from above. Select the line tool and draw two 1 pixel wide vertical lines while holding the <SHIFT> key. This will constrain your line to a perfectly vertical state.

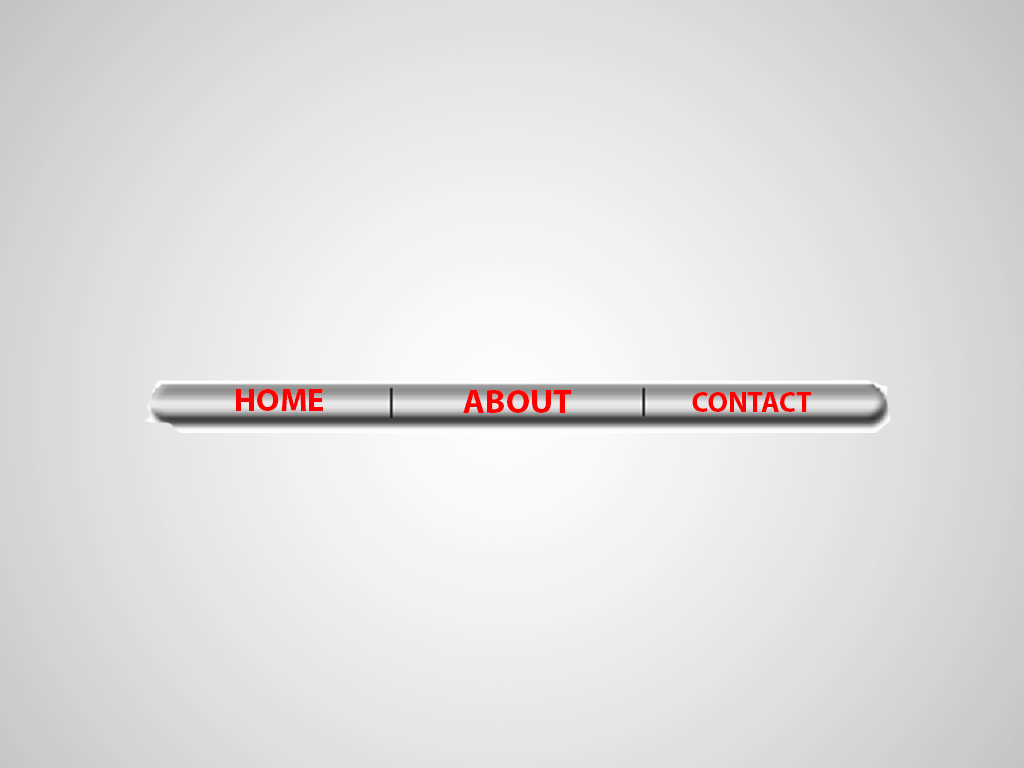
Now just add some text, and your 3D navigation bar is ready to be used!
