Now that the new Instagram Business profiles have started rolling out more people have direct access to Instagram ads – something that in the past was limited to users of Facebook Ad Manager. Let’s take a look at how easy it is to setup a new Instagram ad once you have converted your profile to a business profile.
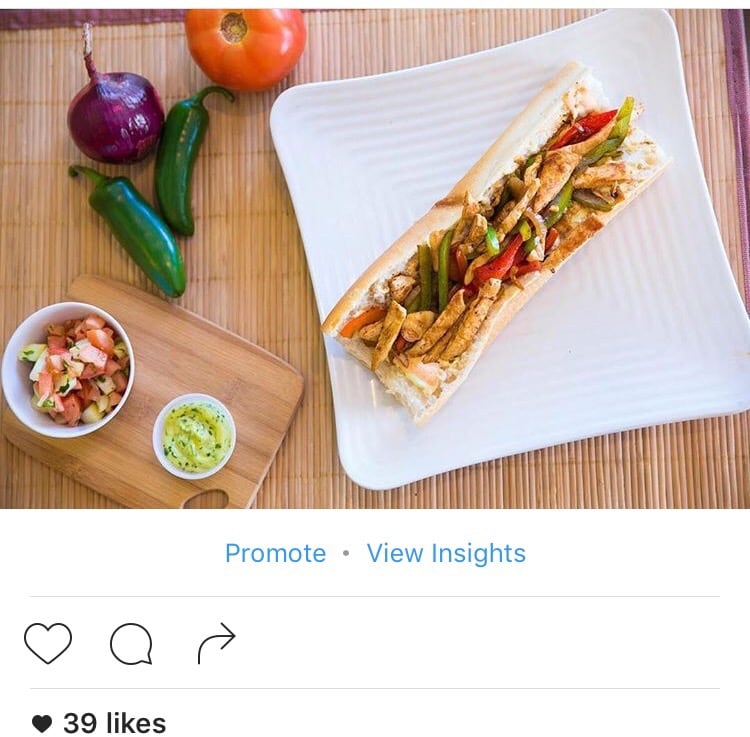
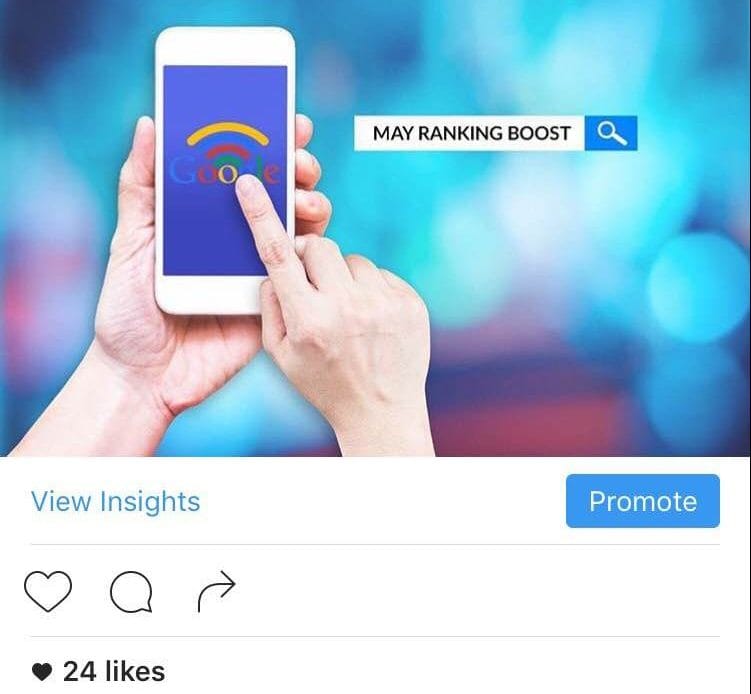
Start off by finding a post you wish to promote and click on the new Promote button underneath it. You can use any one of your posts, regardless if you made them before or after converting your Instagram profile to a business profile. Currently there are two different views that have been spotted and confirmed for the new Promote button, however regardless how your button is displayed it will function the same way.
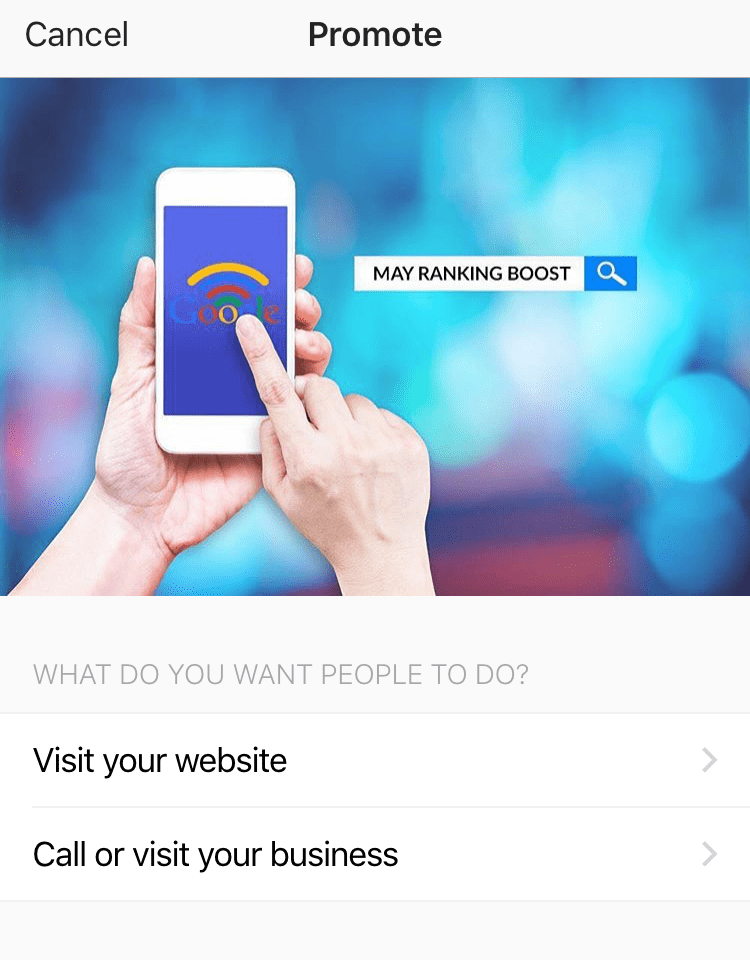
Clicking Promote will bring you to the main Promote page where you can choose the appropriate action button for your ad, choose your audience, set your budget and your ad duration. To help simplify things a bit Instagram starts you off by asking you to select what action you wish to obtain from your audience.
Depending on what you choose, you will be able to select one of the following call-to-action buttons available:
- Learn More
- Watch More
- Shop Now
- Book Now
- Sign Up
- Contact Us
Selecting the option to Call or visit your business will also create an automatic audience featuring everyone and anyone who is near your business – a great way to attract new customers who walk by your location every day.

Otherwise you will only see the Quick Audience option, as seen here:
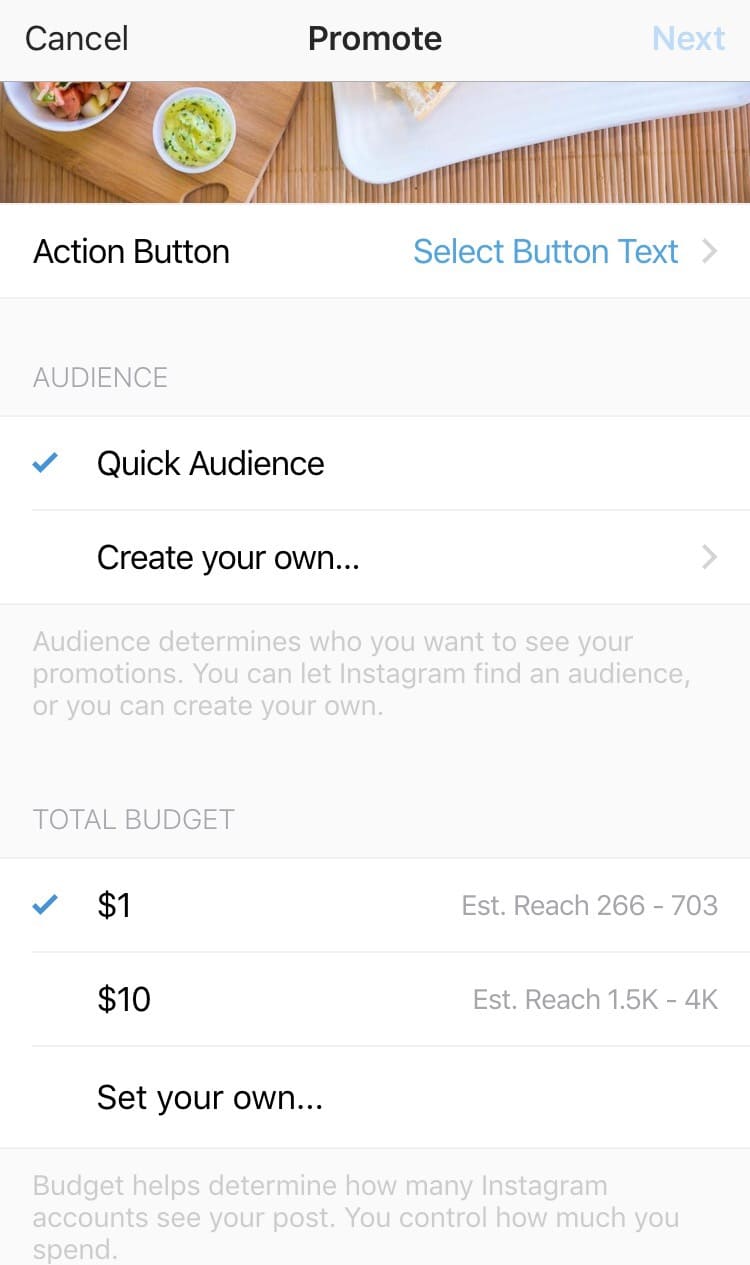
Choose the action button text that best fits your advertising campaign and enter a custom URL, address, or phone number that the user will go to when they click your action button.
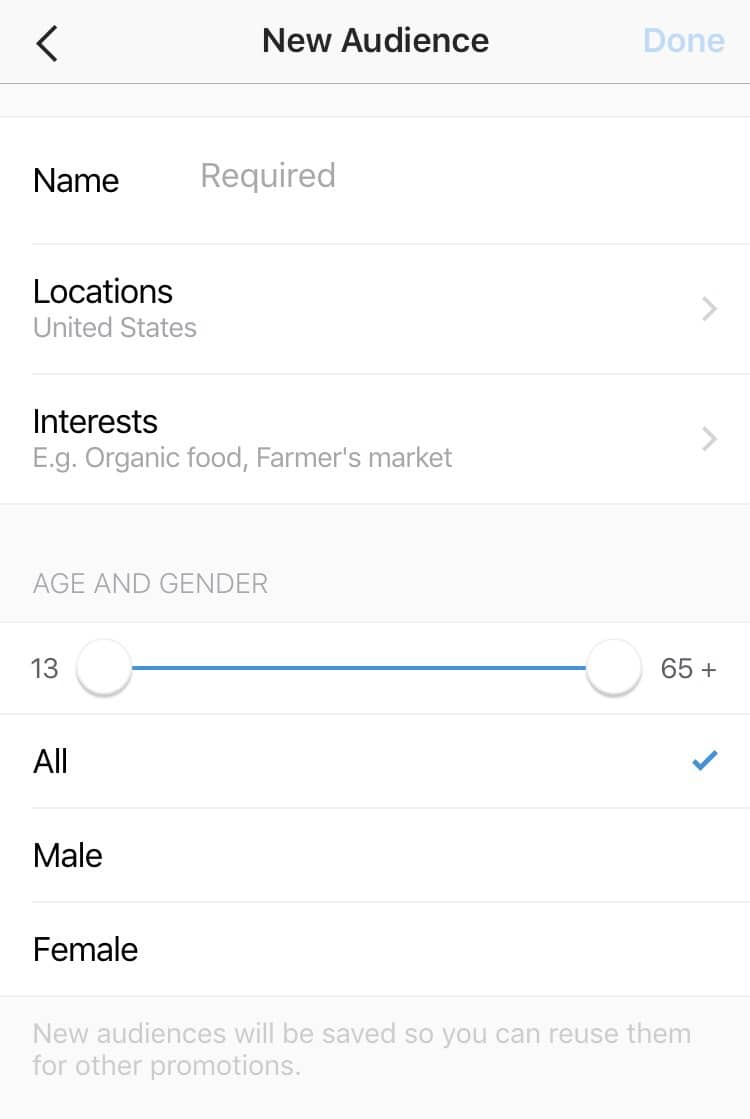
Next up is audience selection where you can either use the default Quick Audience/Local Audience option which lets Instagram choose the audience based on your followers and post content, or make a custom audience with your own targeting options. Here you can choose your target locations, interests, age and gender.
Once you have set all your options, click Next in the top right corner. You will now get a confirmation screen where you can review your order and set your payment method.
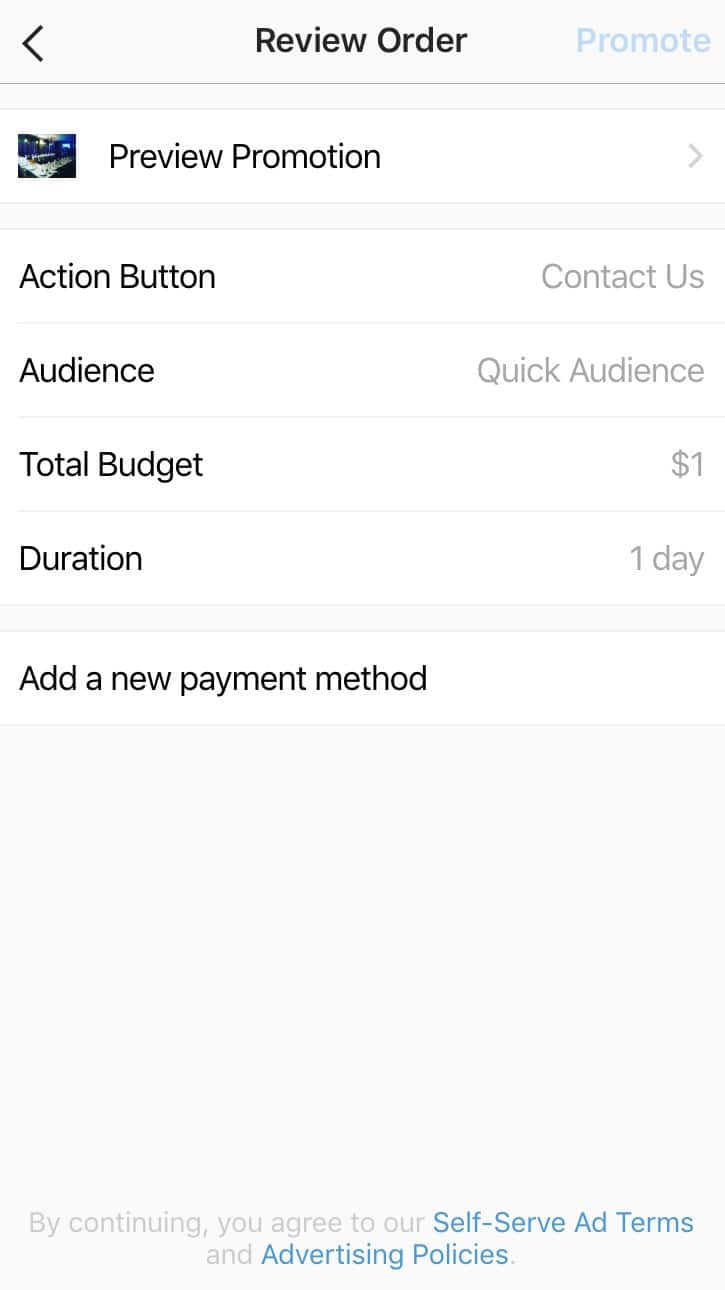
Clicking to add a new payment method will let you choose the Facebook ad account you wish to bill for this Instagram promotion. You can also use your personal Facebook account and simply add a payment method using the on-screen instructions. Currently Instagram supports payment via PayPal or a Credit/Debit card.
If you had already setup a payment method once before you will see your added payment option already selected:
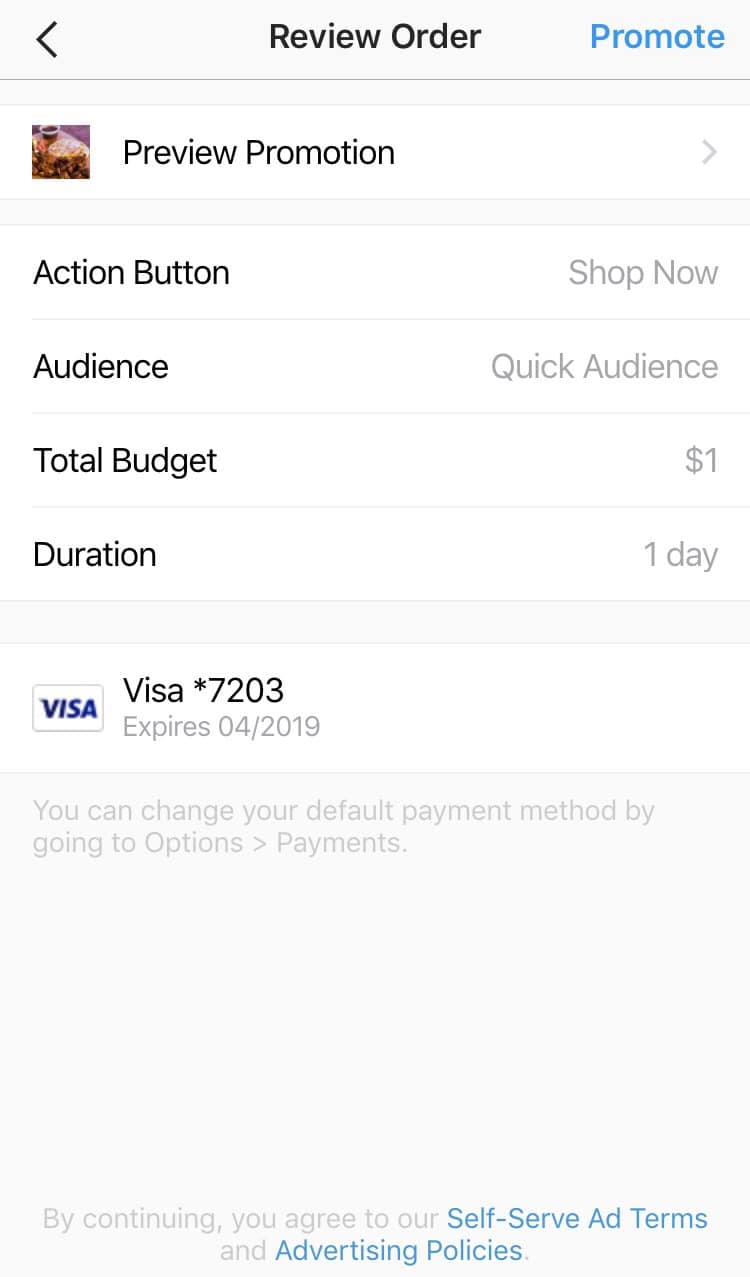
You can change that by going to Settings -> Payments to manage your various payment methods and ad accounts.
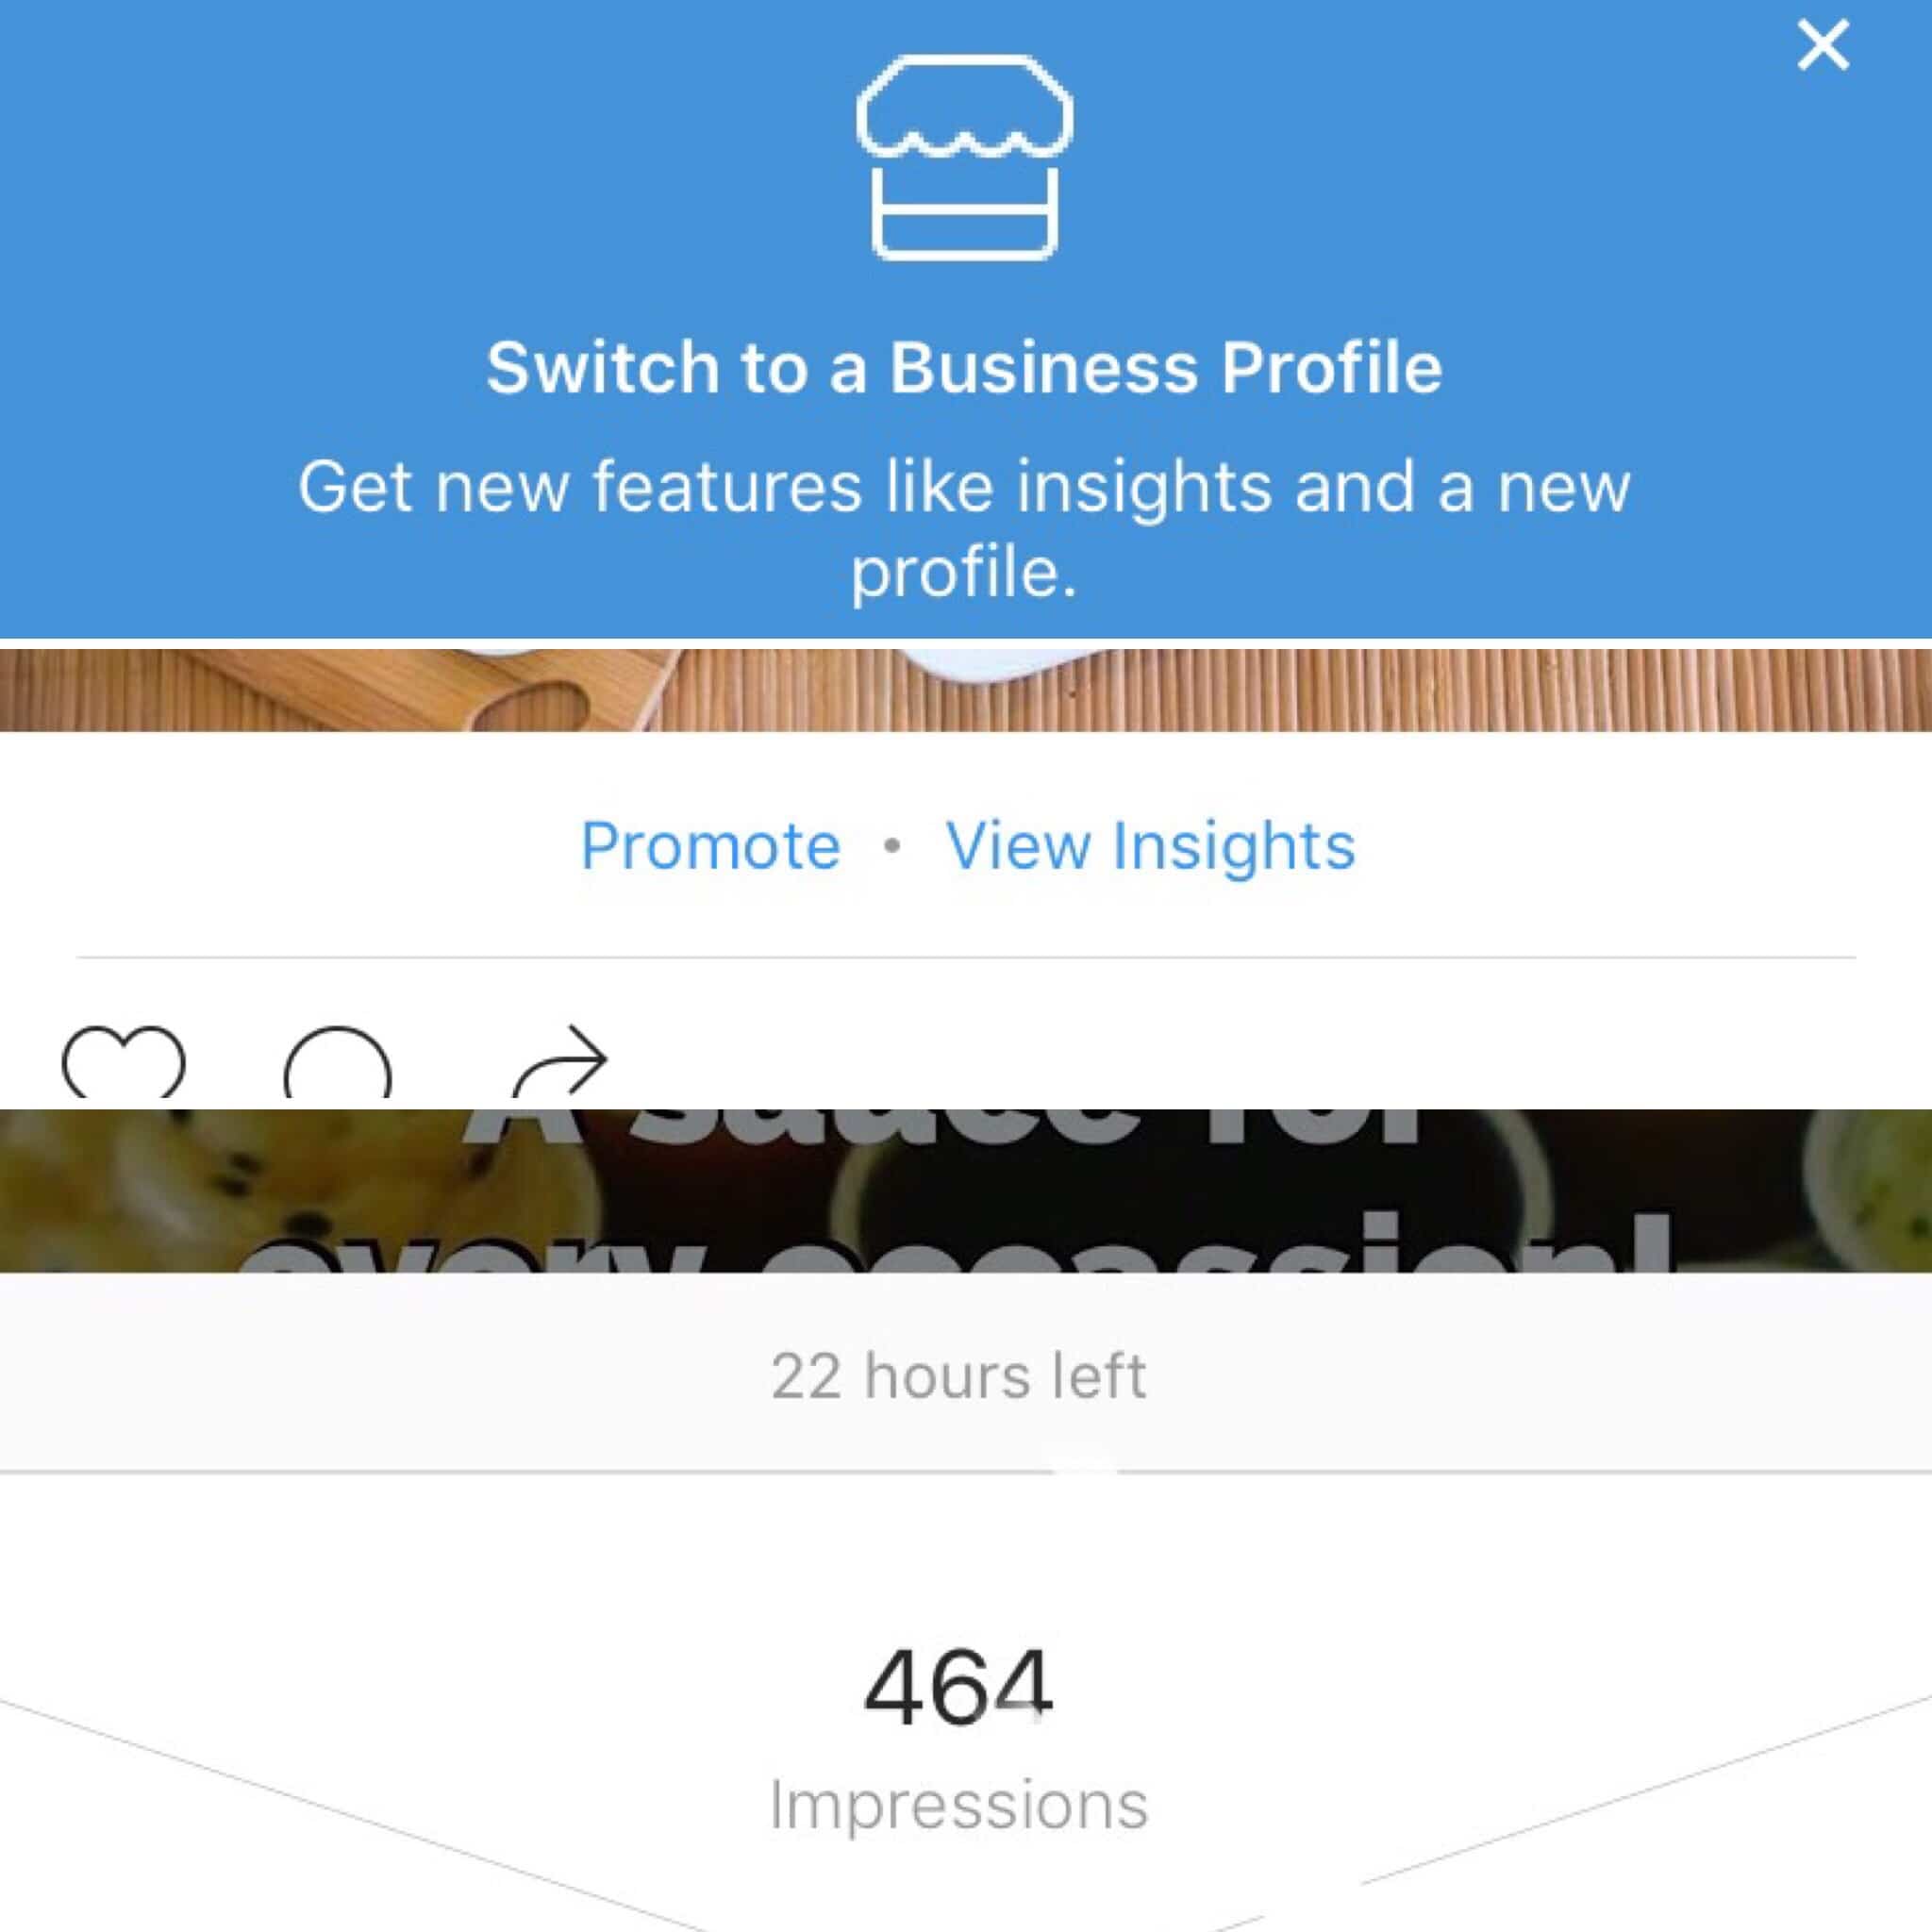
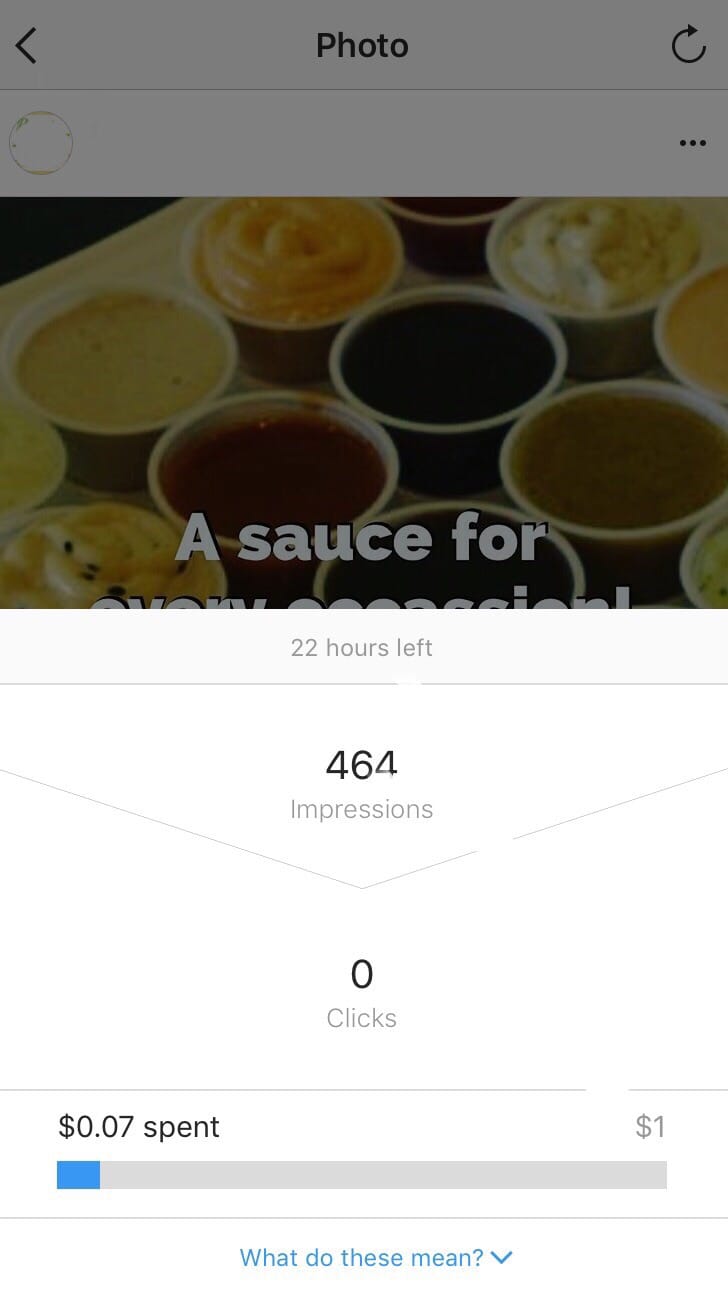
Once you have added your payment method, and reviewed your ad – click Promote in the top right corner and your new Instagram ad will go into its review process to make sure it meets Instagram’s advertising guidelines. Once this is verified your ad will start running, and just like with Facebook you will see various quick stats displayed underneath your post.
The process becomes relatively easy once you do it a few times. Plus you have the flexibility of setting all this up from your mobile phone, on the train ride to work, or anywhere you feel like.
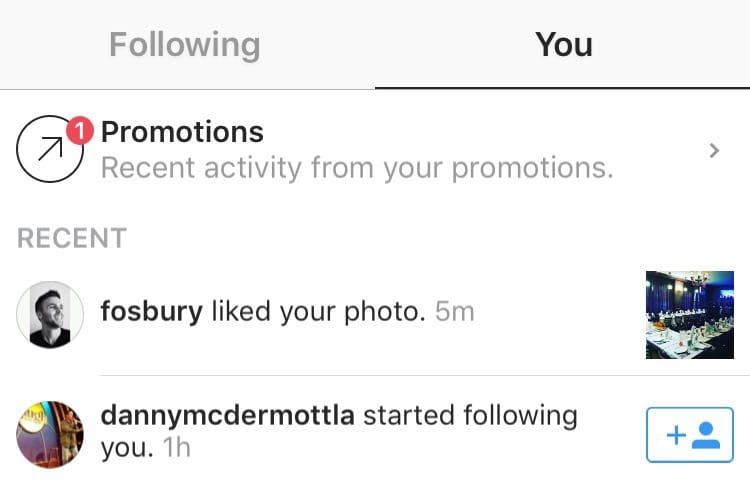
To access your existing Instagram ads you simply go to your Notifications tab where you will see a new Promotions button above.
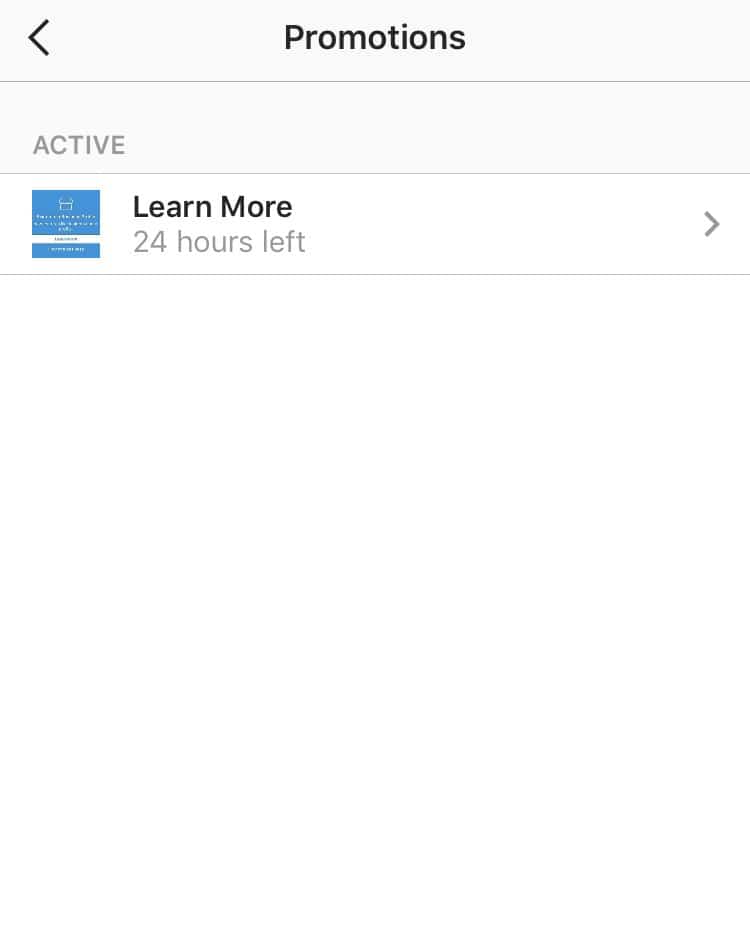
From there you will get a list of all your Instagram campaigns, past and present, sorted by status.
As usual, if you have any questions or experience any issues feel free to mention it in the comments below.